
In the world of music production, the importance of quality acoustics can’t be overstated. I’ve seen firsthand how good acoustics can elevate a home studio from amateurish to professional. So let’s dive into the deep end of home studio acoustics and explore how to improve the acoustic treatment in your studio.
With the right knowledge and tools, you can transform your home studio into an acoustically sound space. It’s not just about buying expensive equipment; it’s about understanding the science of sound and using it to your advantage. Stay tuned as we demystify the complexities of acoustic treatment.
Whether you’re a seasoned producer or a beginner, improving your home studio’s acoustics will significantly boost the quality of your recordings. And trust me, it’s easier than you think. Let’s get started on your journey to superior sound.
Contents
Why Acoustic Treatment is Important in Home Studios
Truth be told, acoustic treatment can make or break the quality of your recordings. Recording in a space that isn’t correctly treated acoustically often results in audio that is far from professional. For anyone serious about their work, it’s obvious why sound treatment is crucial in home studios.
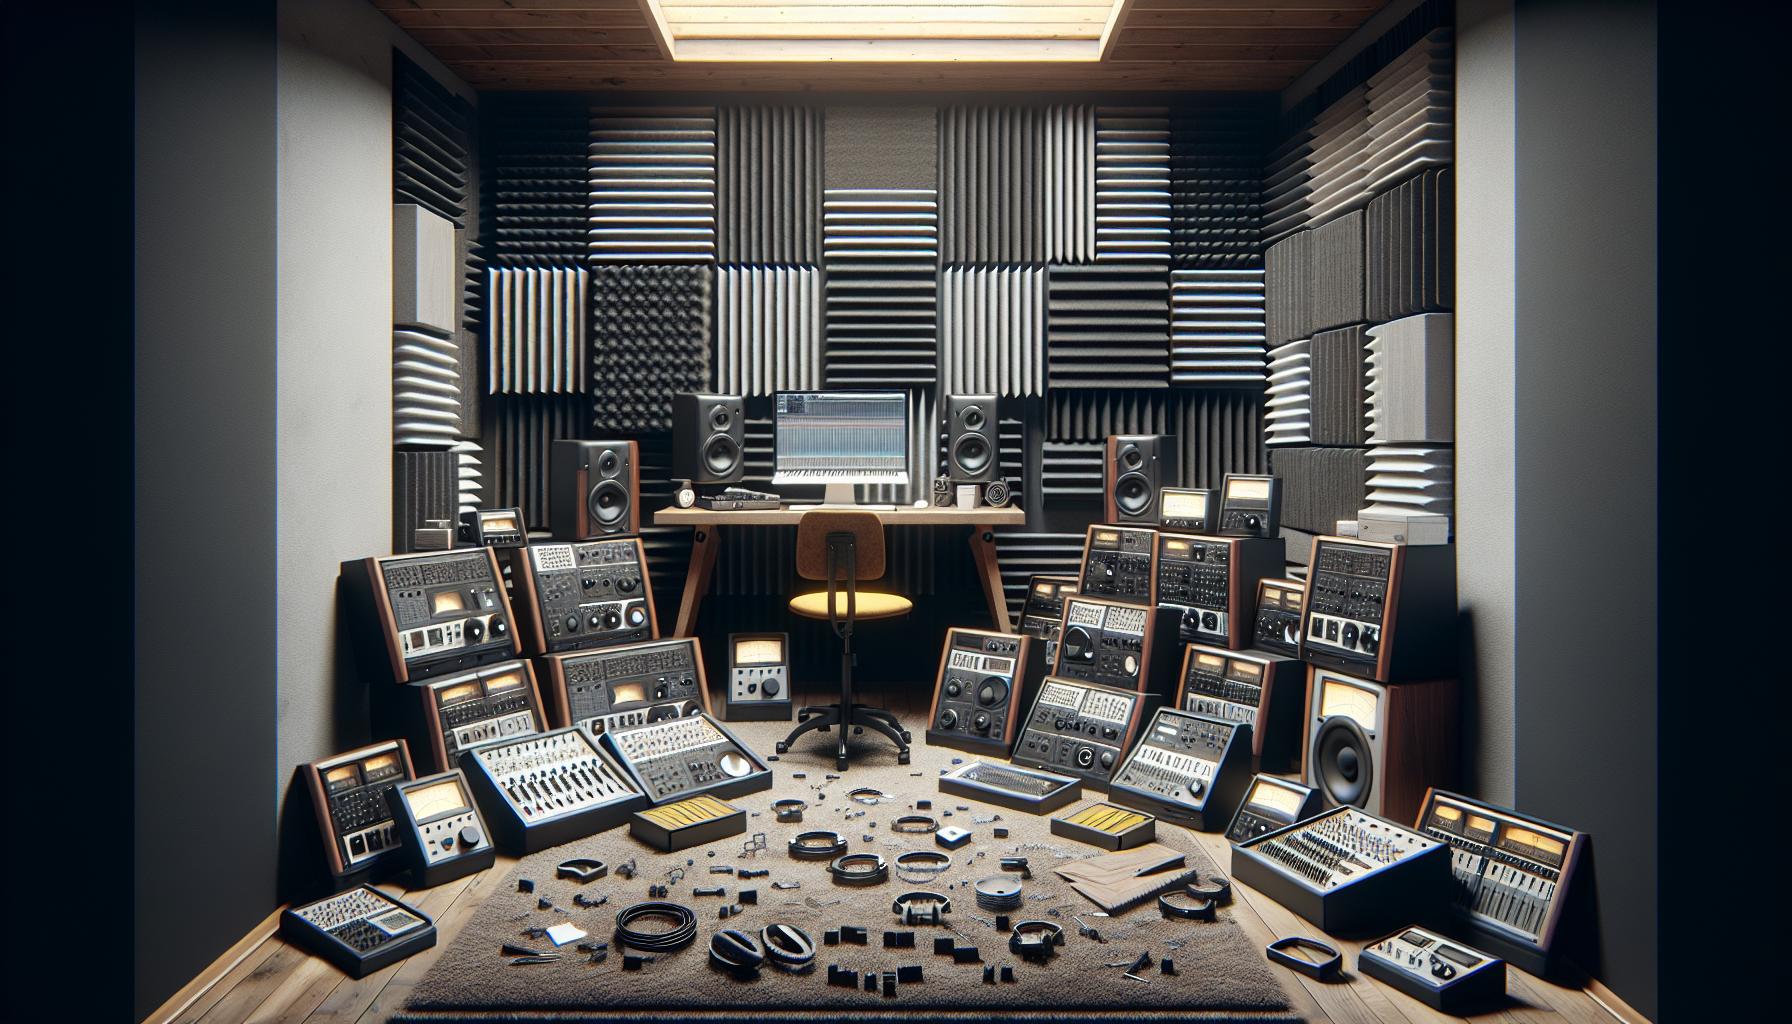
Think about a time you’ve recorded in your untreated home studio. You might have experienced audio that’s filled with echoes, or worst, harsh and piercing high-frequency sounds. It’s because untreated rooms tend to create unwanted ambiance due to the reverberation of sound waves. Once captured in your recordings, these disturbances are next to impossible to remove during the post-production phase.
This is where acoustic treatment comes into play. By treating your studio with suitable sound-absorbing materials, it’s possible to better control the sound reflections within your room. It helps both in managing the echo and reducing the impact of any resonant frequencies. What you get are crystal clear recordings that are high in quality and free of audio pollutants.
I understand the temptation of skipping on acoustic treatment, especially due to the financial and time investment. But remember the rule – you get what you put in. If your aim is to produce professional-level audio, treating your room acoustically is not a step you can afford to skip.
In the following sections, I’ll guide you through the basics of acoustic treatment: where to start, what materials to use, and how to place them in your studio for optimal sound absorption. By putting in the effort and following my advice, you’ll find it’s easier than you think to improve the acoustics of your home studio.
Understanding the Science of Sound

Let’s delve into the science of sound. Sound waves are vibrations that our ears perceive. They travel through different materials, and they bounce off surfaces, creating what we know as reflections. The result? Every room has its own unique sound, or acoustics.
When we’re dealing with home studio acoustics, it’s essential to understand how these sound waves interact with the room. When you play music or record audio in an untreated room, sound waves will bounce off the walls, ceiling, and floor. This can lead to high levels of reverb or echo which could distort your recording.
The other critical element to take into account is the room’s resonant frequencies. Every room has certain frequencies that it naturally amplifies, which can result in a ‘boomy’ or ‘muddy’ sound in your recordings. These resonant frequencies are dependable on the size and shape of your room.
Here’s a basic rundown of how sound interacts within a room:
| Sound Waves Aspect | What It Does |
|---|---|
| Direct Sound | Sound that reaches the listener directly from the source. |
| Reflected Sound | Sound that’s reflected off surfaces like walls and ceilings |
| Room Modes | The resonant frequencies of a room. |
Understanding and controlling these elements is at the core of acoustic treatment. Yet, how do we tackle this in a practical sense? How do we make the room ‘sound better’? We’ll get into that as we discuss acoustic treatment materials and where to place them for optimal sound absorption. So, stay tuned.
Assessing the Acoustic Issues in Your Studio
The first step in improving your home studio’s acoustics involves identifying the existing issues. By taking the time to assess your workspace, you’re setting the groundwork for a more efficient acoustic treatment. Let’s dive into some common issues you might face and how to spot them.
Understanding the Room’s Reverberation Time
Reverberation time, or reverb, refers to how long it takes for a sound to decrease by 60 decibels in a particular space, a measure often represented as RT60. A room’s reverb can either enhance or degrade the auditory experience.
How to Spot It: If you’re noticing a “ringing” or “echo” effect in your recordings, you likely have high reverb. You can measure reverb using a tool like Room EQ Wizard but remember, these measurements are only as good as the microphone you use.
Identifying Flutter Echo
Flutter echo is another common acoustic issue. It manifests as a rapid series of echoes resulting from sound waves bouncing back and forth between hard, parallel surfaces.
How to Spot It: Try clapping your hands in different parts of the room. If you hear any rapidly repeating or metallic-sounding echoes, you’ve likely found a flutter echo issue.
Spotting Room Modes
Room modes, or resonances, can significantly impact your studio’s sound. At specific frequencies, your room can amplify (peaks) or decrease (nulls) the volume, creating inconsistent audio playback.
How to Spot It: Play a frequency sweep in your studio. If certain frequencies seem louder or quieter than the rest, that’s likely due to room modes. A tool like Room EQ Wizard can help measure and visualize these issues.
That’s just the start. After identifying these issues, you’ve built the foundation for your studio’s sonic improvement. The next step is clear — acoustic treatment. With knowledge of your studio’s current state, you can better tackle its issues and optimize its audio performance.
Choosing the Right Acoustic Treatment Products
Now that we’ve identified some of the most prevalent acoustic problems in our studios, the next step in our journey to perfect sound is choosing the right acoustic treatment products. But how do we know which products are right for our spaces? I’ll offer some guidance based on my years of experience in this area.
Understanding Your Needs
Every room is unique and requires a unique set of solutions. You have to understand your room’s acoustic challenges before selecting any products. If you have a high reverb, you might need diffusers. They scatter the soundwaves to reduce echo and create a more natural sound field. If flutter echoes are your concern, bass traps and acoustic panels might be a fitting solution. These products absorb sound energy and help to minimize the distinct echoes caused by sound waves bouncing back and forth between walls. Similarly, if you’re dealing with room modes, bass traps can help to equalize the frequency response in your studio.
Balancing Absorption and Diffusion
It’s important not to over-absorb sound in your studio. While absorbing excess sound energy can reduce echo and reverb, absorbing too much can make your studio sound flat and lifeless. A balance between sound absorption and diffusion in your room is not only a good practice but also a crucial one.
Research Before You Buy
Never underestimate the power of good research. There’s a plethora of acoustic treatment products available on the market. Read reviews, compare products, and make an informed decision. Remember, the most expensive product isn’t always the best one for your needs. Quality and suitability should determine your choice, not price.
Hire a Professional if Necessary
If you feel overwhelmed by the myriad options available or if your studio’s acoustic issues persist despite your best efforts, consider hiring an acoustics professional. Their expertise can help you select the right products and achieve optimal sound in your studio.
Remember, improving your studio’s acoustics is a journey, not a destination. Keep experimenting with different treatments until you find the optimal sound. And as always, when it comes to acoustics, patience is key.
Effective Placement of Acoustic Panels and Bass Traps
Let’s move on to the next crucial step in your studio’s acoustic treatment: the effective placement of acoustic panels and bass traps. Now, you’ve selected the right materials and are ready to begin installation. But where do you place these tools for optimum sound? That’s the million-dollar question.
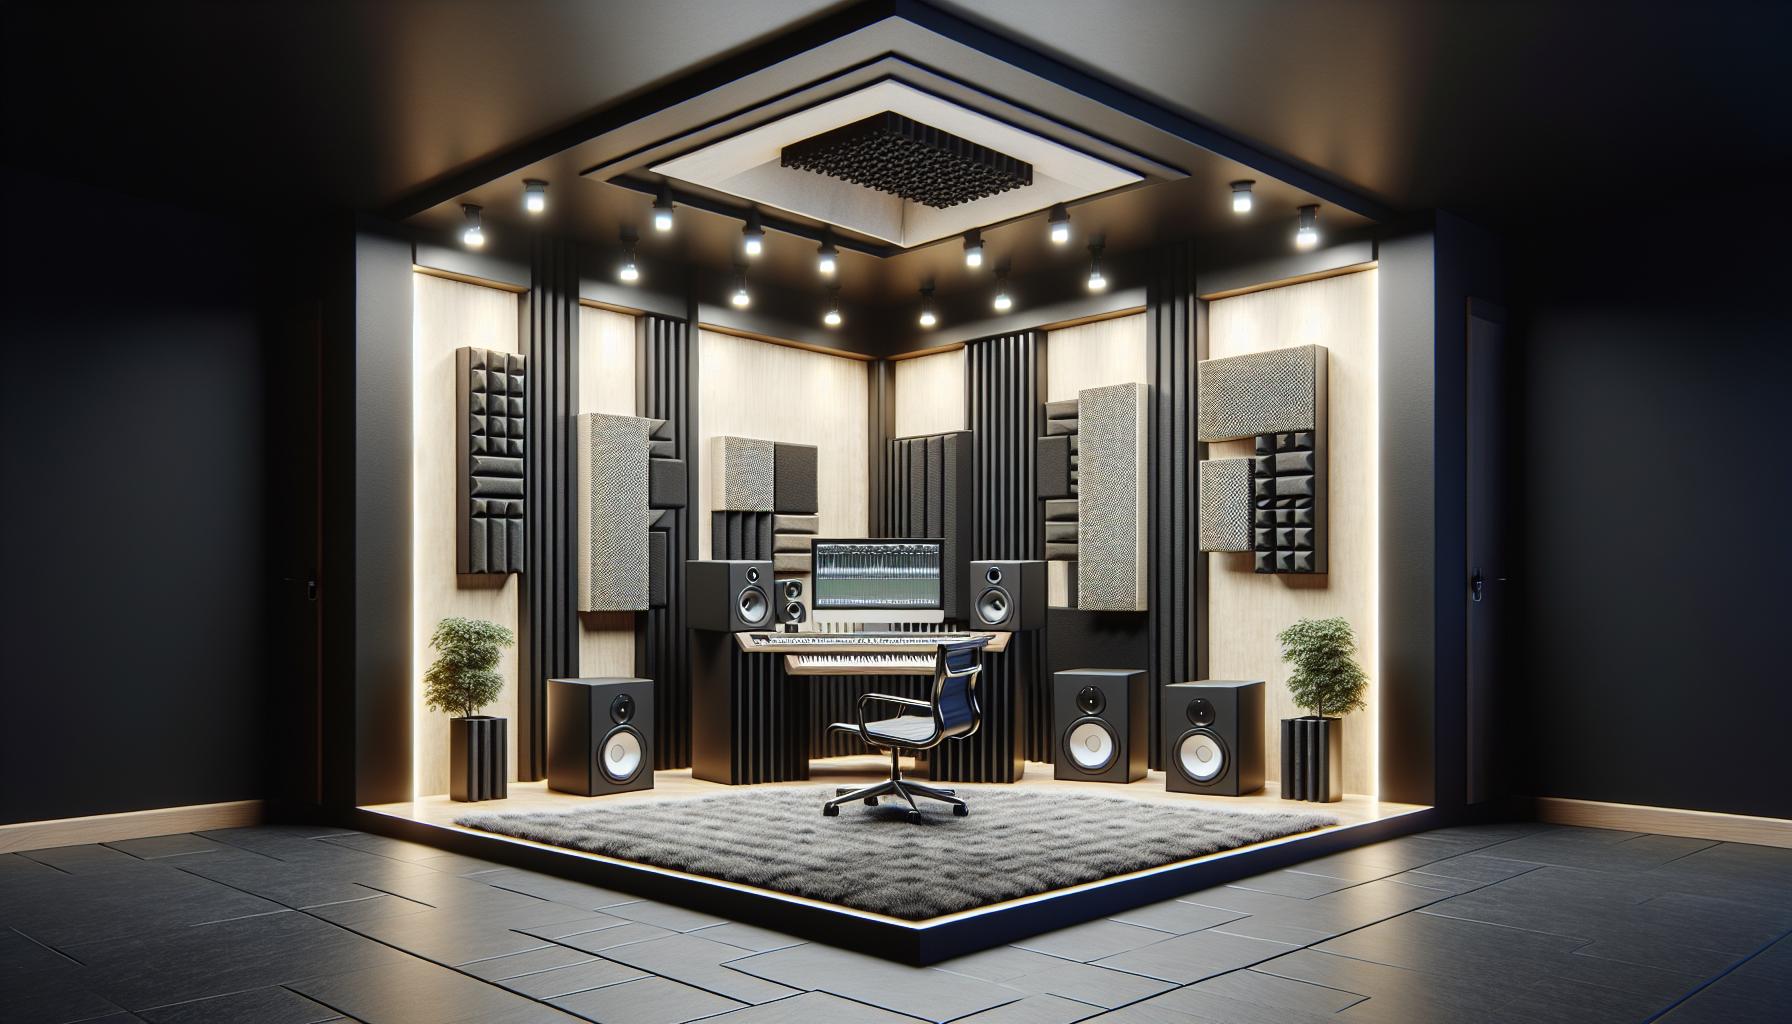
Acoustic panels typically excel at absorbing mid to high-frequency sounds. These are most effective when strategically placed at first and second reflection points in your room. To find these reflection points, imagine a mirror on your studio walls. Wherever you can see a reflection of your speakers – those are your reflection points! Covering these areas with acoustic panels will noticeably improve the quality of sound resulting in a clearer and more focused listening experience, with less noise distraction.
Bass traps, on the other hand, are used to control low-frequency sounds. These are generally most beneficial when placed in corners where bass frequencies tend to build up. This builds a more balanced sound profile, reducing that boomy or muffled sound that can occur in untreated rooms. Hence, bass traps should be the first gear that you install in your home studio.
In addition, you should also consider ceiling mounted cloud panels. These are especially helpful in reducing sound reflections from overhead.
Let’s remember that every room is unique, and what works in one may not work in another. It’s a good idea to experiment with different placements, and, if possible, get professional advice. Got your tape measure ready? It’s time to start placing those panels and traps. Remember, it’s all about creating a sonic environment where your creativity can thrive. But bear in mind, improving your studio acoustics isn’t an overnight process. So, be patient and persistent in your acoustical journey. Stay tuned for our next article where we’ll dive into how different materials affect your studio’s acoustics.
DIY vs Professional Acoustic Treatment Solutions
Now that we’ve touched on where to place your acoustic panels and bass traps, let’s delve deeper into the two types of acoustic treatment solutions available out there: DIY and Professional. Understandably, the strategy you choose will significantly depend on your budget, time, expertise, and most importantly, the specific acoustic needs of your studio.
Starting with DIY acoustic treatment solutions. This route is predominantly more economical for the budget-conscious folks. Being a handy person comes with its perks! You can customize the materials and designs to your liking, giving your studio a unique vibe. Got some spare Owens Corning 703 or Rockwool lying around? Well then, you’re halfway there already! Design your panels, wrap them in fabric, and voila! You’ve got yourself some sturdy acoustic panels.
On the flip side, going DIY is labor-intensive and time-consuming. The learning curve can be steep, particularly for beginners. However, fear not! There’s a plethora of free resources available online to guide the willing hearts. So roll up your sleeves, and brace yourself for some hands-on work.
Shifting focus to professional acoustic treatment solutions. Opting for professional services entails the expertise and experience of a skilled audio engineer. It saves you from the proverbial heartache of DIY projects and instantly delivers top-notch, tailored solutions to improve your studio’s acoustic performance.
Professional solutions delve into complex areas of room acoustics like diffusers, broadband panels, and RPG diffusors, which may be overwhelming for DIY enthusiasts. It must be noted, though, professional services command a hefty price tag which may not be feasible for everyone. Nevertheless, the end result often justifies the cost, given the quality and guarantees that come with it.
In all honesty, both solutions have their pros and cons. And that’s okay because improvements in studio acoustics don’t happen overnight. Be it DIY or professional solutions, trial and error will be your steadfast companion. The goal is to progressively reduce sound reflections and improve the overall sound quality occurring in your studio space.
In the next section, we’re going to delve further into how different materials affect studio acoustics…
Maintaining and Upgrading Your Acoustic Treatment
Once you’ve established your acoustic treatment, whether it’s a DIY or a professional solution, it’s pertinent to maintain and upgrade over time. The effectiveness of your acoustic treatment hinges on its upkeep. When properly maintained, acoustic treatment can remain effective for many years, delivering excellent results.
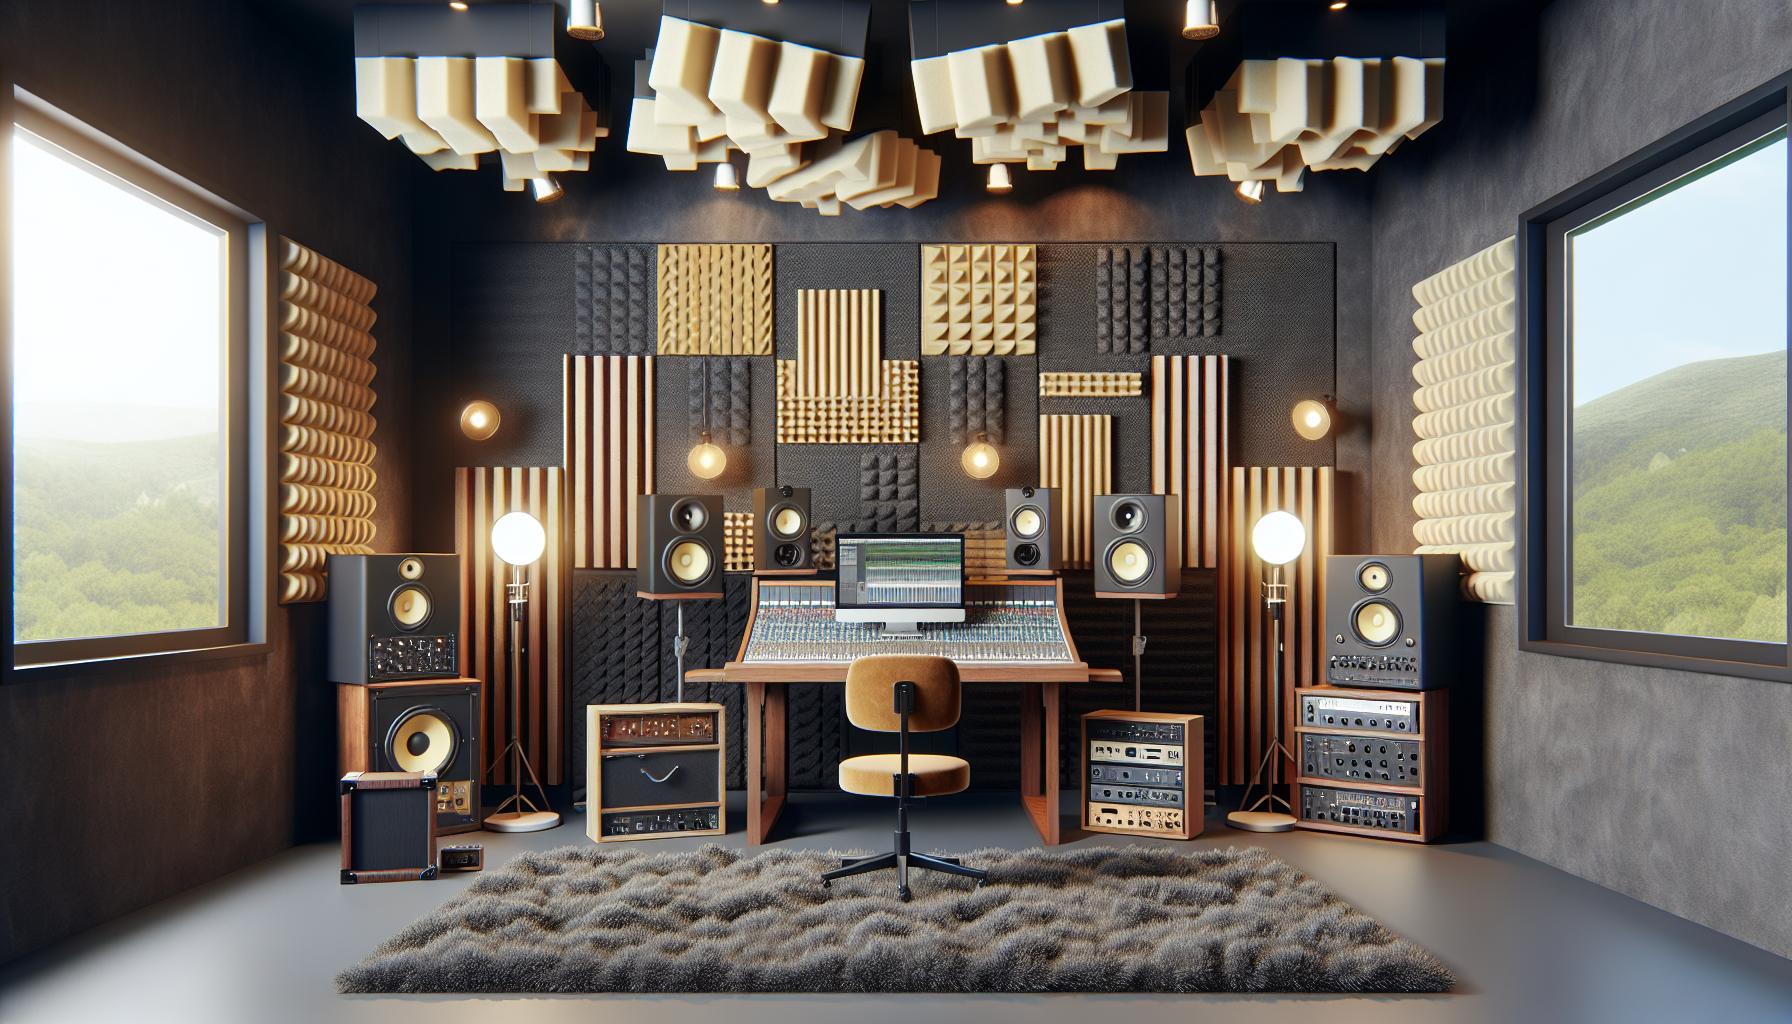
Let’s delve into how different materials impact studio acoustics. Acoustic foam, diffusers, and bass traps are among the common materials used for acoustic treatment. They each interact differently with sound waves.
Take acoustic foam for instance. It’s a popular choice for many home studios given its ability to absorb sound waves and reduce echo. However, it’s susceptible to dust accumulation over time which could affect its performance. Regular cleaning is therefore vital to ensure it remains effective.
On the other hand, diffusers work by scattering sound waves, thus reducing echo. They’re typically made from hard materials and require less maintenance compared to acoustic foam. Yet, they might need a replacement once they show signs of wear and tear.
Bass traps, designed to absorb low-frequency sound, are often made from dense materials like mineral wool. Over time, these materials might compact and lose their effectiveness in absorbing sound. As such, regular checks and timely replacement are crucial.
Here’s a brief comparison of these materials:
| Materials | Maintenance Needs | Replacement Frequency |
|---|---|---|
| Acoustic Foam | High (regular cleaning) | Low |
| Diffusers | Low | Medium (upon visible wear and tear) |
| Bass Traps | Medium (regular checks) | High (due to material compaction over time) |
Upgrading your setup is equally important as maintaining it. As you continue to hone your craft and possibly take on larger, more diverse projects, the original acoustic treatment might not suffice. You’ll need to review and make the necessary adjustments to suit your evolving needs.
Conclusion
So, you’ve seen how crucial it is to keep your home studio’s acoustic treatment in top shape. Regular maintenance and updates to your acoustic foam, diffusers, and bass traps aren’t just necessary – they’re vital to the quality of your sound. Remember, these materials aren’t permanent; they degrade and lose their effectiveness. It’s up to you to keep an eye on them and replace them as needed. And as your studio grows and evolves, so should your acoustic treatment. Keeping up with these changes will ensure your studio’s acoustics remain top-notch. Here’s to clear, crisp sound in your home studio!