
If you’ve ever dreamt of having your own home recording studio, you’re in the right place. I’m here to guide you through the process of setting up a high-quality, affordable home studio. It’s not as daunting as it might seem, and you don’t need to break the bank to make it happen.
In this article, I’ll be sharing my expert tips and tricks on how to build a home studio on a budget. We’ll discuss everything from choosing the right equipment to optimizing your space for the best sound quality. Whether you’re a budding musician, a podcast host, or just a music enthusiast, this guide will help you create a studio that suits your needs without emptying your wallet.
So, are you ready to turn your home into a recording haven? Let’s dive into the world of home studio setup and make your dream a reality.
Contents
Choosing the Right Equipment
With the basics in place, let’s now dive into the heart of a home recording studio: the equipment. It’s essential to choose your gear carefully, as it will directly impact the quality of your sound and recording.
Microphones
Laying your hands on a decent microphone is top of the list. A quality condenser microphone is the most common pick for home studios because they’re versatile and well-suited for vocals, acoustic instruments, and podcasts. They are available in a wide range of prices, allowing you to find one that fits your budget.
Headphones
Next on the list are headphones. A sturdy pair of closed-back headphones are best for tracking, while open-back ones are ideal for mixing audio. Ensure your headphones are comfortable for long sessions of use, as they’ll be a constant companion in your recording journey.
Audio Interface
The audio interface acts as a hub connecting your instruments or microphones to your computer. It captures the sounds you create and transforms them into digital signals for your computer to read and process.
Software
Finally, invest in quality software, or DAW (Digital Audio Workstation). It’s the backbone of your recording setup, providing the platform where you’ll record, mix and master your audio. Popular options include Pro Tools, Logic Pro, and Ableton Live. There’re also numerous free or lower-cost DAWs offering great results for budding music producers.
Keep in mind, quality equipment needn’t always come with hefty price tags. It’s all about understanding what you need, researching, and investing wisely. When it comes to home studio setup, I hold firmly to this simple mantra: Start small, upgrade as you grow.
Remember, you want to create a harmonious blend of the right equipment, that offers the best balance of quality and affordability. Making smart choices here will pave the way for a rewarding home recording experience. Now, let’s switch gears and delve a bit deeper into optimizing your recording space.
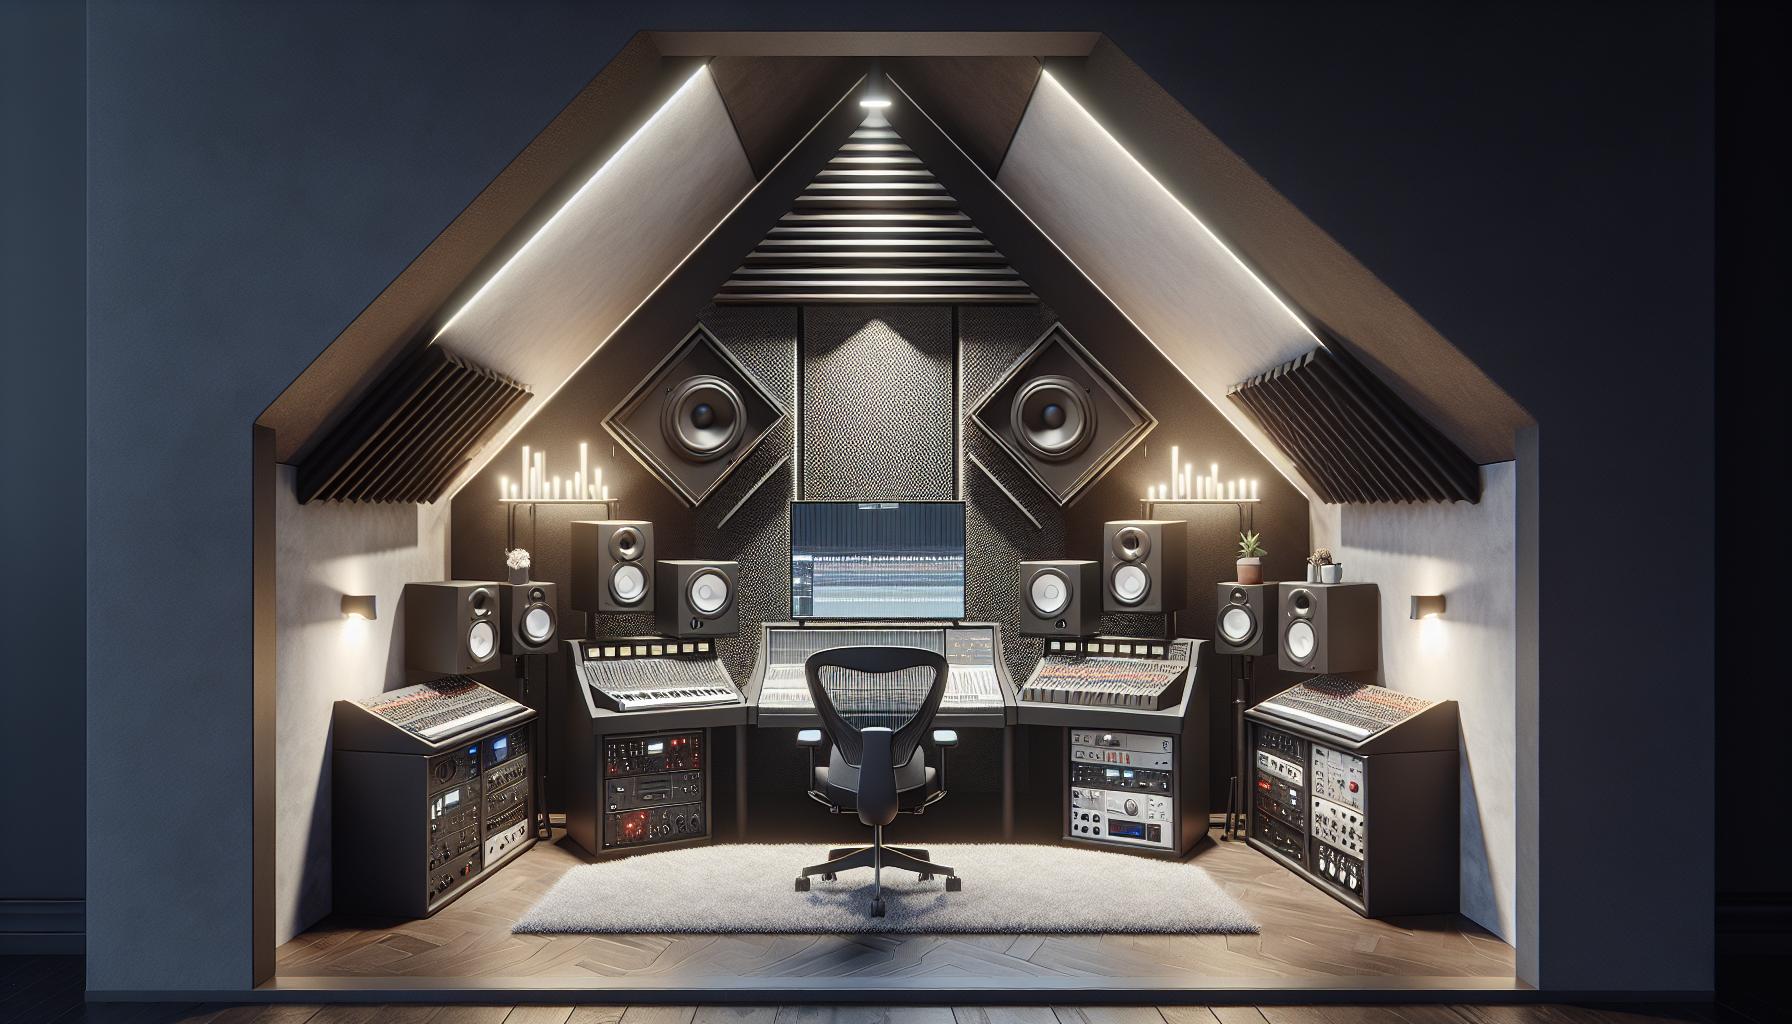
Setting Up Your Space
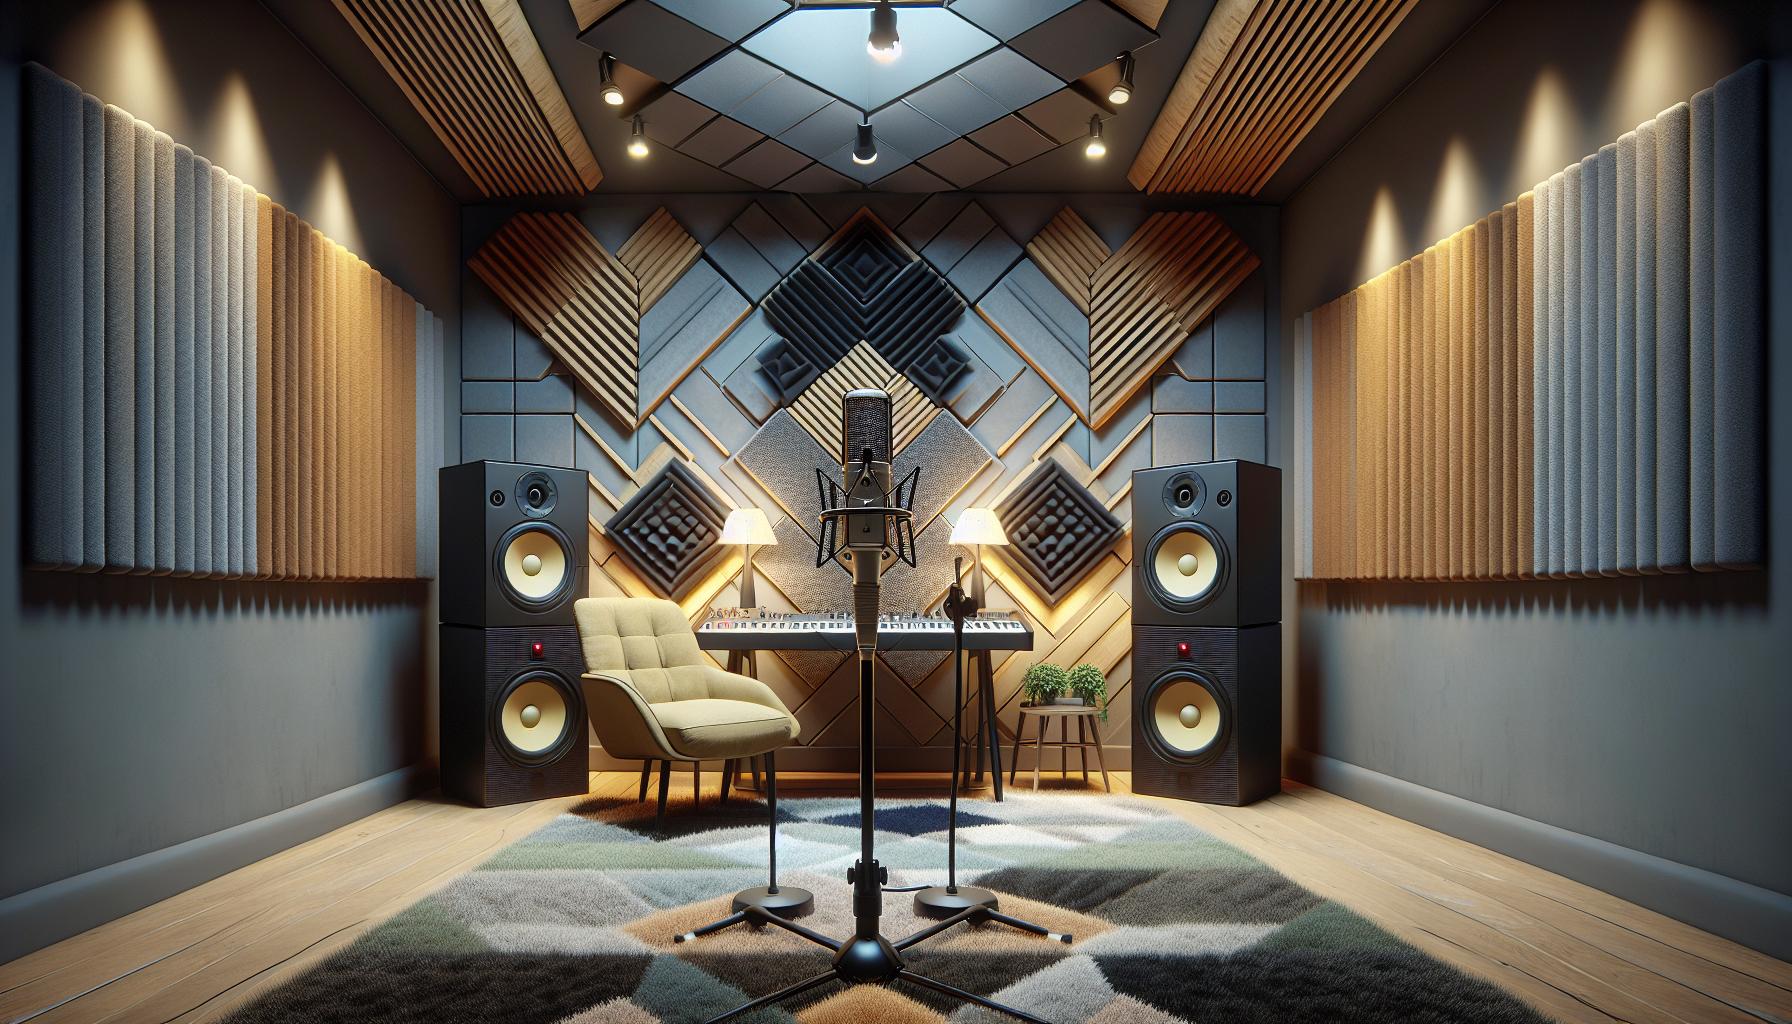
The way you arrange your studio is just as vital as selecting the right equipment. There’s more to setting up your space than merely finding a corner to cram all your gear. You must consider elements like room acoustics, positioning, and the inclusion of soundproofing materials.
Room Acoustics
Room acoustics play a crucial role in the overall quality of your recordings. High ceilings, bare walls, and hard floors can cause echoes and give your recordings a hollow sound. To improve the acoustics, you can use wall hangings, rugs, and acoustic panels to absorb extra noise. If you’re on a budget, thick blankets and DIY acoustic panels can provide the absorption you need.
Positioning
Positioning is just as crucial. Starting with the speakers, always position them to form an equilateral triangle with your listening position. This layout provides balanced sound and lets you accurately perceive your recordings.
Next, your condenser microphone. Be sure to position it in a way that it won’t pick up background noise or echoes. If your room isn’t acoustically treated, a reflection filter behind your microphone can help. For best results, your microphone should directly face the musical source without obstructions.
Soundproofing
Soundproofing combats external sounds invading your space. It’s even more crucial if you live in a bustling neighborhood or with other people. Curtains, foam panels, or installing a floating floor provide a degree of soundproofing but, for best results, consider a professional solution.
Now we know the elements to consider! Tune your space, you’ll be rewarded in the audio clarity and quality of your music. Remember, do not skimp on this part of the process. It’s just as important as choosing the appropriate recording equipment.
In the next section, we’ll delve into the importance of cable management and how a clutter-free studio setup can enhance your productivity and overall recording experience.
Essential Recording Studio Gear
Addressing recording studio equipment, it’s a must-have in your home studio setup. Regardless of your budget, the careful selection of gears can make a massive difference in your recording experiences.
One primary equipment you can’t bypass is the microphone. I have a few to recommend. For example, the Audio-Technica AT2020 is an excellent fit for beginners, and it doesn’t break the bank. On the other hand, if you are ready to splurge, the Neumann TLM-103 can be a fantastic option for pro-level recording.
| Microphone | Pros | Price |
|---|---|---|
| Audio-Technica AT2020 | Budget-friendly, Great sound quality, Ideal for beginners | $100 |
| Neumann TLM-103 | Incredible detail and warmth, Ideal for professional studio work | $1100 |
More than just microphones, an audio interface is another vital piece of equipment. This helps to convert your analog sounds into digital format. The Focusrite Scarlett 2i2 and PreSonus AudioBox are among my top picks because they are versatile, high-quality, and remarkably affordable.
| Audio Interface | Pros | Price |
|---|---|---|
| Focusrite Scarlett 2i2 | Two I/O, Excellent sound quality, Highly recommended for home studios | $150 |
| PreSonus AudioBox | Two I/O, Durable build, Comes with Studio One Artist software | $100 |
Next, we should talk about studio monitors. These aren’t your average speakers; they’re designed to produce flat frequencies to let you hear your recordings as true to the original sound as possible. For a reliable option, consider the Yamaha HS5 or KRK Rokit 5.
| Studio Monitors | Pros | Price |
|---|---|---|
| Yamaha HS5 | Flat response, Accurate sound reproduction, Ideal for small studios | $200 |
| KRK Rokit 5 | Good low-end, Great value, Widely used in studios world over | $180 |
Creating a Budget-Friendly Acoustic Treatment
After securing the prime gear, it’s possible you’re asking yourself, “What’s next in crafting my home studio setup?” Well, one unexpected yet essential component lies in the realm of acoustic treatment. It’s not all about the latest gadgets and sound tech, you know.
Acoustic treatment might seem daunting at first, and more importantly, could feel like something that’ll stretch your budget beyond comfort. In reality, I’ve learned over the years that achieving satisfactory, cost-friendly acoustic treatment is within grasp – it just needs careful understanding and selection just like our previous gear components.
Let’s discuss some budget-friendly acoustic treatment options that could bring a noticeable improvement to your home studio. We ain’t talking about gobbling up peanuts from your pocket. Let’s start with soft furnishings; curtains, carpets, and cushions can prove their worth.
Certainly, these aren’t what you’d typically picture when imagining a recording studio. However, they hold the power to absorb sound waves, reducing echo and improving the overall quality of recordings. Versatile, practical, and won’t bleed your budget dry.
Beyond soft furnishings, consider DIY bass traps and diffusers. They’re effective devices that manage the low-frequency noise that could become problematic in untreated studios. You can often make them yourself with easily sourced, affordable materials. Remember, the internet is flooded with step-by-step guides to help along the way.
However, it’s not all roses and sunshine – home-made treatments have their limitations. If the budget allows, professional grade panels can be added. They offer more precise control over room sound, so they’re worth considering down the line.
In building an affordable home studio, the key is to be mindful of your acoustic treatment choices. Don’t be fooled into thinking it’ll always break the bank, ‘coz it doesn’t have to. Acoustic treatment should be viewed as an investment rather than a cost, with significant benefits for the overall recording and playback quality in your studio. Stick to these budget-friendly ideas and then experiment – you’ll find what works for your space.
Tips for Optimizing Sound Quality
So, we’ve discussed the importance of acoustic treatment in a Home Studio Setup. Now, let’s talk about some actionable tips for improving the sound quality in your affordable recording studio.
First off, Control Room Placement is a game-changer. Yes, it’s all about where your desk, monitors, and all vital equipment should be located inside your studio. The golden rule is to place your setup away from the walls and more towards the center. Why? Simply because it curbs the risk of bass build-up, resulting in balanced acoustics.
Next, Monitor Placement is crucial. The perfect position for your monitors can dramatically affect your perception of the sound. Here’s a trick: arrange your monitors and listening position in an equilateral triangle — the distance between the speakers should be the same as the distance from each speaker to you.
Thirdly, don’t underestimate the Quality of Equipment. While our focus is on budget-friendly tips, it’s smart to identify areas where you can’t skimp. Investing in high-quality headphones, studio monitors, and a solid microphone will significantly impact your recording quality.
Let’s not forget about Room Calibration Software. These specialist applications help to identify and rectify acoustic problems, so you can work in a more optimal environment.
Here are my top four tips:
- Control Room Placement
- Monitor Placement
- Quality of Equipment
- Use of Room Calibration Software
Remember, the room-tuning process should be iterative. Start with these tips, and then tweak and refine as you listen, record, and mix. It’s all about making your home studio the best it can be.
Conclusion
Building an affordable home recording studio doesn’t have to be a daunting task. With a focus on control room placement, monitor arrangement, and quality equipment, you’re well on your way to achieving superior sound. Don’t forget the value of room calibration software, a tool that’ll help you pinpoint and fix acoustic issues. Remember, it’s a continuous process of tweaking and refining. There’s no ‘one-size-fits-all’ solution, so don’t be afraid to experiment and find what works best for your unique space. Keep refining, keep experimenting, and most importantly, keep creating. Your dream home studio is within reach!