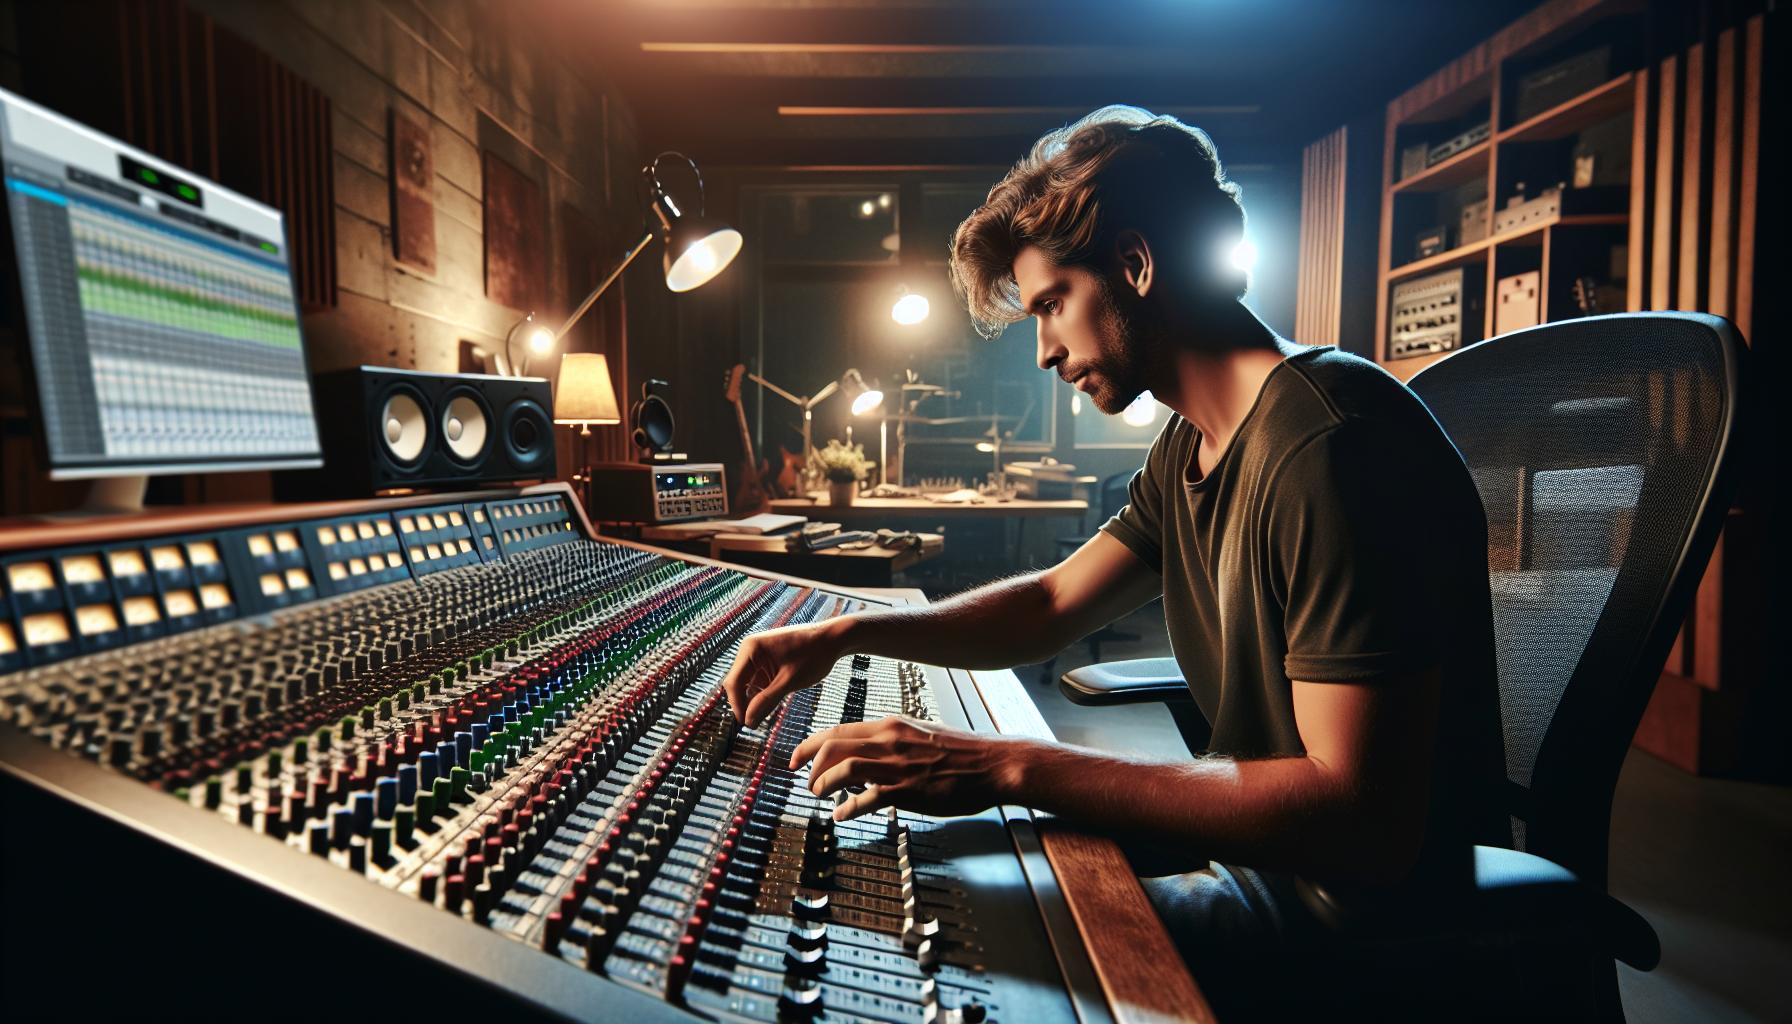
In the world of music, it’s the mix that makes or breaks a track. As a music producer, mastering the art of mixing is crucial to creating that perfect sound. From balancing levels to manipulating frequencies, it’s a complex process that requires both technical skills and a creative touch.
I’ve spent years experimenting with different mixing techniques, learning the intricate details of each process. Now, I’m here to share my insights and help you navigate the maze of knobs, faders, and plugins. Whether you’re a seasoned pro or an aspiring music producer, these essential mixing techniques will elevate your tracks to new heights.
Dive in, and let’s start creating magic with music.
Contents
Balancing Levels: The Foundation of a Good Mix
When we delve into the core of mixing, one element stands out – balancing levels. It’s the foundation every mix is built upon. No matter the genre or complexity of the project, mastering this aspect can shape your track into a sonic masterpiece.
Balancing levels involves careful adjustment of each individual track’s volume level in relation to others. It’s not just about turning up the volume, rather it’s about creating a melodious blend where each element complements the others. A well-balanced mix ensures that no element overpowers others, maintaining harmony across the entirety of the track.
The balancing process varies with each song, but an effective starting point is to balance levels during the recording phase itself. It saves time during the mixing phase and contributes to a better overall sound.
I suggest starting with the most dominant element (which often is the lead vocal in pop genre ) and then adjust other elements around it. This approach gives a clear direction, makes the mix sound centered and less chaotic. But keep in mind, there are no set rules. What works best is truly subjective and can change on a song-to-song basis.
One of the key tips for level balancing is to often switch back and forth between mono and stereo. This can highlight any balance issues that might not be apparent in stereo.
Another practice I highly recommend is using reference tracks. They give an idea of how well-balanced mixes in your genre sound like and can guide your tweaks accordingly.
Lastly, remember that achieving a perfectly balanced mix can be a trial and error process. Patience, experience, and a good understanding of your tools can make the task easier in the long run.
Continuing the journey, we’ll dissect more mixing techniques in the following sections where we’ll explore EQ, compression, panning, automation and much more. Exciting stuff awaits, so stick around and get ready to up-level your mixing game.
Creating Space with Panning and Stereo Imaging

After mastering the art of balancing levels, it’s time to dive deeper into the toolbox of mixing techniques. Let’s direct our attention towards two incredibly potent tools: Panning and Stereo Imaging.
Panning is a technique that’s as old as the hills but remains vital in the world of music production. It assists in creating a sense of width, depth, and space in your mix by strategically positioning various elements across the stereo field. Much like putting a puzzle together, each track becomes its own piece. By placing them in the right spot, you build a beautiful sonic picture that’s both wide and dynamic.
Stereo imaging, on the other hand, uses the stereo field to its maximum potential. It’s about manipulating the differences between the left and right channels. This helps further accentuate the depth and dimension in your mix. More so than panning alone, this technique can transport listeners into a completely immersive musical world.
While some producers might advocate for an almost random approach when it comes to panning and imaging, I’ve found that a touch of strategic intention often yields the best results. First, identify the key elements in your mix, and make certain they’re getting the priority placement they deserve. This usually means keeping them central or near-central.
Next, consider the harmonics. Remember, higher frequencies can be more difficult for our ears to locate. So, you may want to pan them more dramatically for effect. Lower frequency elements, like the bass or kick drum, tend to work best when they’re closer to the middle.
Also, always keep a mindful eye—or rather, ear—on your mono compatibility. Even though we’re working in the stereo realm, it’s essential to remember that many listeners will still experience your music in mono.
Stereo imaging and panning can significantly enhance the listener’s experience, bringing them inside the music, and making them feel like they’re part of the live performance. However, these key mixing tools are just a starting point. Remember that the ultimate goal is to create a mix that’s both balanced and immersive. Achieving that requires constant learning, experimenting, and honing your craft. As we move forward, more advanced techniques and tips will be discussed.
EQ: Sculpting the Frequency Spectrum
Moving forward, we venture into the powerful tool in a producer’s arsenal, the Equalizer (EQ). This technique is akin to a sculptor chiseling away at a piece of stone, shaping and fine-tuning to pull out the best sound possible.
At the base level, EQ is a filter. It lets us sculpt frequencies, cutting away what’s unnecessary and boosting what enhances the mix. We use it to clear out muddy frequencies, create space for each element, and give tracks their unique tonal character.
Notably, it’s not all about boosting. One common mistake is to increase frequencies too often. Beware, boosting adds volume and could result in a mix that’s too loud or too bright. Our general principle is to cut before boosting; first, carve out space by reducing frequencies that aren’t useful to the element. Secondly, if needed, boost to provide additional presence or clarity.
When it comes to EQ, the type matters. There are two main types – Parametric and Graphic equalizers:
- Parametric EQs provide control over the frequency you want to adjust, how wide or narrow the range is (the Q) and how much to boost or cut that frequency.
- Graphic EQs have fixed frequency bands, and only allow for boosting or cutting.
To truly master EQ, you’ll need to practice. Learn your frequencies, listen critically, and experiment with different settings and techniques. Understand how subtle changes can produce significant effects and how to use EQ to bring depth and clarity into your mixes. It’s not just a technical tool, it’s an art form in itself. But remember, subtlety is key. Don’t carve so much away that you lose the essence of the track. It’s all about balance.
In the next section, we’ll move from shaping individual elements to sculpting them as a whole. We’ll delve into compression: how it’s the binding element between your tracks.
Dynamics Processing: Controlling Volume and Impact
Let’s now delve into another central aspect of music mixing – dynamics processing. This technique holds the power to add punch and impact to your track, while also providing stability in terms of volume consistency.
Understanding the role of dynamics processing in mixing is key to enhancing both the softest and loudest parts of your music. Essentially, it’s a practice that helps control the range between the maximum and minimum levels of volume in your mix.
There are two key devices used in this method: compressors and limiters.
- Compressors: These are devices designed to scale down the dynamic range, making loud sounds softer and usually increasing the level of softer sounds.
- Limiters: These are essentially compressors, but they feature a higher ratio and usually don’t allow signals to exceed a set threshold.
These tools can be complicated at first, but their proficient use in the right places can bring life to your mix, controlling unwanted peaks and helping to maintain consistency, especially in terms of volume levels.
Take your time to understand and experiment with compressor settings. Factors like attack, release, threshold, ratio, and gain all play a significant role in shaping the sound dynamics of your track. Make it a point to train your ear to recognize the subtleties, effects, and impact created by these settings.
Remember that dynamics processing is not just about controlling volume. It’s also about revealing the depth and dimension of your track. It allows you to highlight essential elements, hide less important elements and maintain a well-sculpted, balanced sound across your entire track.
The following section will further explore reverb, delay, and chorus effects. These add texture and space to your track, creating a unique soundscape that differentiates your mix in the crowded world of music. Expect to learn more about these effects and how they can bring that X-factor to your musical creations.
Harnessing the Power of Effects

First off, let’s dive into the wonderful world of reverb. Reverb creates an environment for your mix. In other words, it gives it a space to live – whether that’s a concert hall or a small room. A careful and creative use of reverb can convincingly create a sense of depth and dimension to your track. Here, it’s important to set the ‘wet/dry’ balance carefully. Too much ‘wet’ can cloud your mix, while too little may not convincingly create the intended space. Always trust your ears and make small adjustments till you get the perfect balance.
Next, let’s talk about delay. This effect replicates a sound and plays it back after a predetermined period of time. Often, producers use it to create a sense of depth in their mix, sort of like an echo effect. However, it’s more than that. Delay can infuse a track with a rhythmic element, achieve a thicker sound, or just make interesting textures. Remember to use it subtly. Overuse of delay can clutter your mix and hide the original sound you’ve worked so hard to create.
Finally, we come to the chorus effect. This tool might be one of the less understood effects in a producer’s toolkit, but it’s not any less impactful. Chorus adds richness and thickness to the sound by creating a layer of sound similar to the original but modulated in pitch and time. It’s often used to give a single vocal track a feel of more voices singing in unison, and it’s particularly effective on guitars, giving them a lush, shimmering sound.
In the end, with the appropriate use of effects, you can manipulate the tonal and spatial aspects of your mix, creating a more engaging and immersive listening experience. High-quality effects plugins offer tremendous flexibility and precision in controlling these parameters and can be real game-changers in how your mixes sound.
When you think about reverb, delay, and chorus, don’t think of them as separate entities but rather as ingredients in a recipe that work together to create a unique and compelling sonic flavor.
As we move forward in our journey, we’ll be looking at how balance is key not just when using these effects but across the entirety of a mix, focusing next on audio balancing techniques and tips. Let’s keep the momentum going.
Conclusion
So there you have it. We’ve delved into the world of reverb, delay, and chorus. These essential mixing techniques have the power to transform your music, giving it depth, texture, and richness. It’s all about using these effects wisely, maintaining balance to ensure your mix doesn’t become overwhelming. Remember, it’s not just what effects you use, but how you use them. The right blend can create a truly immersive listening experience. I hope this insight helps you on your journey as a music producer. Stay tuned for our next discussion on audio balancing techniques and tips. Let’s keep making music that moves people.
