
If you’re like me, you know there’s always more to learn in the world of music production. Whether you’re just starting out or you’ve been producing for years, there’s a wealth of knowledge out there waiting to be tapped. That’s why I’ve put together these step-by-step music production tutorials.
I’ll guide you through everything from the basics of setting up your studio to the nitty-gritty of mixing and mastering. But don’t worry, I’ve got your back every step of the way. So grab your headphones, fire up your DAW, and let’s dive in!
Remember, it’s not about mastering everything overnight. It’s about taking it one step at a time. So let’s start this journey together, and before you know it, you’ll be producing tracks that’ll blow everyone away.
Contents
Setting Up Your Studio
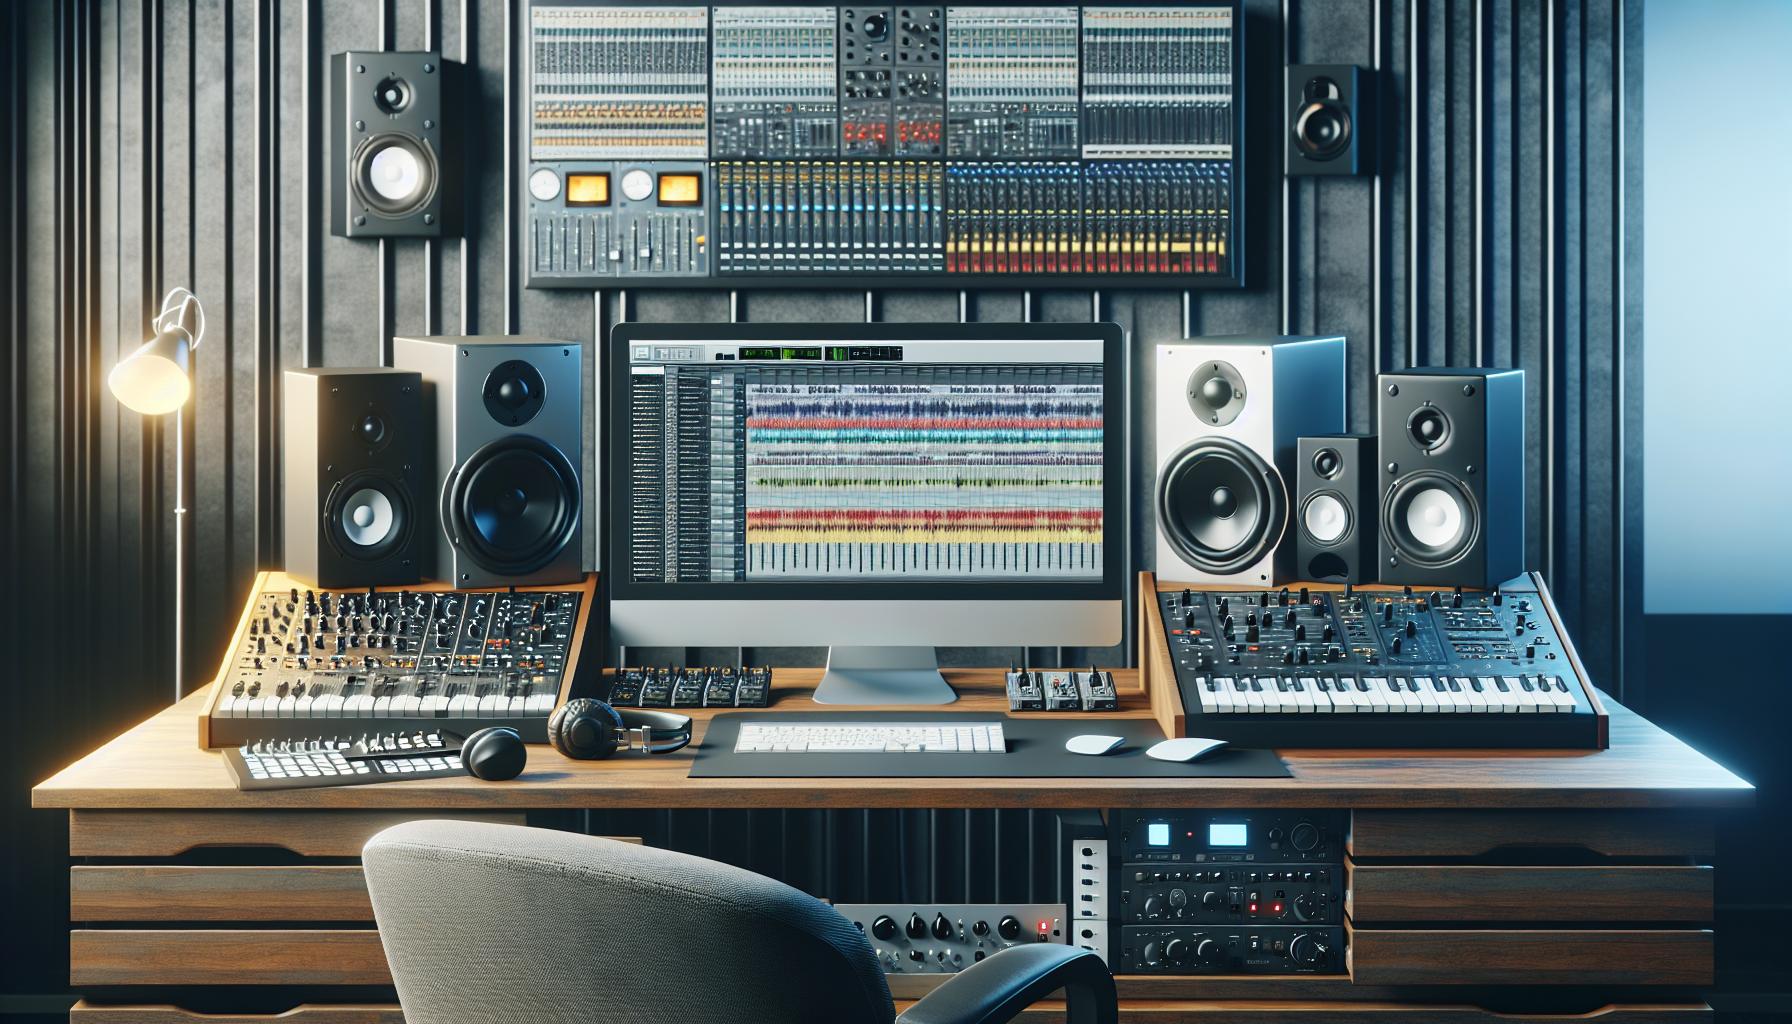
An integral step in beginning your journey as a music producer is setting up your very own studio. It’s not just about having high-tech equipment; it’s about creating an environment that fuels your creativity and enhances your sound production skills.
Initially, you’ll want to find the perfect space. It could be a spare bedroom, a basement, or even a garage. The primary aim here is to select a spot that’s quiet, spacious enough for your gear, and inspiring for your creative pursuits.
The next significant concern is the acoustic treatment of your selected space. Irrespective of your budget, some basic acoustic principles are essential to understand. This treatment primarily involves reducing echo and controlling reflections to achieve a clear sound. You may need items like diffusers, bass traps, and acoustic panels for this purpose.
Then, we take a step towards the essential gear. At the very least, you’ll need:
- A computer
- Digital Audio Workstation (DAW)
- Studio Monitor Speakers
- Audio Interface
- Headphones
- Microphones
Your choice in each of these items depends on your budget, personal preferences, and the type of music you plan to produce.
If you’re a beginner, it’s vital not to overwhelm yourself. Most professionals started with less and built their studio over time. The ability to produce quality sound doesn’t solely depend on expensive equipment but on your understanding of the tools at your disposal.
Setting up your studio is a crucial task and should not be rushed. Each element should be chosen carefully to maximize its contribution to the sound quality. Continually learning and experimenting is a significant part of this journey. After all, innovative music production is as much about understanding the nuts and bolts as it is about the symphony of sounds.
In the upcoming sections, further elaboration on these concepts awaits. We’ll discuss choosing your DAW, finding the best audio interface for your needs, and establishing a sound that’s uniquely yours. So, stay tuned as we delve deeper into the fascinating world of music production.
Choosing the Right DAW

Sifting through the numerous digital audio workstations (DAWs) can be daunting. However, landing on the right one is crucial in the thrilling journey of music production. This section is designed to simplify the process and guide you in selecting the perfect DAW that fits your needs and style.
First off, let’s let it sink in: there’s no one-size-fits-all DAW. Each one boasts unique features and workflow that may cater better to different music production styles. By understanding your production style and goals, you’ll pinpoint a DAW that feels like second nature to use.
Are you more into music recording, mixing, or mastering? Or perhaps, you lean more toward MIDI sequencing, music composition, or sound design? Some top DAWs, sorted by prominent features, include:
- Music Recording: Pro Tools, Logic Pro X
- Music Mixing & Mastering: Pro Tools, Cubase
- MIDI Sequencing: Ableton Live, FL Studio
- Music Composition: Logic Pro X, Cubase
- Sound Design: Ableton Live, Bitwig Studio
Of course, affordability is a major factor to consider as well. Some DAWs provide free or lite versions while still determined to serve you high-quality production experience.
It’s worth investing time in the process of researching, testing free trials, and delving into user reviews. Some specifications and system requirements may also affect a DAW’s performance in your existing studio setup. Be sure to find a DAW that syncs well with your hardware.
I encourage you not to rush the process. Picking the right DAW can be the difference between a frustrating or a rewarding journey into the world of music production. This choice will significantly impact your workflow and your sound’s final quality.
Now let’s move on to the exciting business of prepping your audio interface as a perfect companion for your chosen DAW.
Essential Equipment and Plugins
So we’ve covered choosing a DAW, but there’s more to music production than your digital workstation. Let’s delve into the hardware you’ll need, and the plugins that can make your sound come alive.
First up: audio interface. Think of the audio interface as a bridge between your computer and the outside world. It lets you get high-quality sounds in and out of your DAW. Be sure to choose an audio interface that has the inputs and outputs you need for your specific setup. For example, many music producers prioritize multiple output options and microphone inputs. It’s also critical to make sure that the audio interface you choose is compatible with your DAW.
Next in line: Studio monitors. Monitors are different from regular speakers because they aim to provide a flat frequency response. This means they don’t color the sound, allowing you to hear your mix accurately. There are different types of studio monitors, such as near-field and far-field, each with their pros and cons.
On to the digital realm: Plugins. These are like seasoning for your musical dish. Plugins include software versions of musical instruments (Virtual Studio Technology instruments or VSTi), effects like reverb and delay (VST), and tools for mastering and sound design. Plugins can help you bring a unique flavor to your tracks and are an incredible asset in music production.
Remember, these are the basics. There’s a world of music production gear out there: MIDI keyboards, microphones, controllers, external sound cards, and the list could go on. I encourage you to explore this rich world, always keeping your production style and goals in the forefront of your mind. As with everything in music production, it’s not about having the most expensive gear – it’s about having the tools that enable you to express your creativity. Consider your needs carefully, do your research and remember, there’s no such thing as a perfect setup – only the setup that’s perfect for you.
The Fundamentals of Music Theory

After you’ve picked your essential gear and explored the world of plugins, your next step in creating incredible music is understanding the fundamentals of music theory.
Music theory is the backbone of any successful production. It acts as the language artists and producers communicate in, enabling us to translate our ideas into reality. A deep dive into this realm provides the knowledge required to harness the power of chords, scales, and keys, making your music coherent and pleasing to the ear.
Firstly, chords are the building blocks of harmony in a musical composition. When we talk about a C Major chord, for example, we’re referring to a chord made up of C, E, and G notes played simultaneously.
While chords are the foundation of harmony, the real magic happens when you arrange them in a specific order to create a chord progression. The movement from one chord to another forms the backbone of a captivating melody.
Let’s take a look at scales. A scale is a series of pitches in ascending or descending order. It serves as the roadmap for a piece of music. The notes within a scale set the mood, and different scales can evoke varied emotional responses — important when you’re aiming to create a specific atmosphere with your music.
Lastly, we’ll mention keys. You can think of the key as the ‘home base’ of a piece of music. It tells you what the tonal center or main ‘home note’ is. So when a piece is in the key of C Major, it means that the piece resolves around the note C.
Applying the principles of music theory allows you to construct complex musical structures and understand why some notes sound better together than others. It’s a powerful tool that helps to bring your unique musical vision to life.
While music theory may seem daunting at first, with practice, it becomes second nature. And remember, these are just the basics. As your skills grow, there’s a world of complex theory to uncover.
Building a Solid Foundation: Arrangement and Composition

The next essential step on your music production journey is mastering the art of arrangement and composition. Both of these play a crucial role in how your music will sound and how it’ll be received by your audience.
Arrangement, the practice of deciding where different elements of your music will go on your track, can make or break your song. It’s about achieving the right balance between repetition and variation, featuring a sense of progression and finding an engaging structure. For example, a common arrangement in pop music features the structure verse, chorus, verse, chorus, bridge, chorus.
To practice this, break down your favorite songs and notice how they’re arranged. This will give you a better understanding of what works and what doesn’t in music arrangement.
Now let’s turn to composition. This involves creating melodies, harmonies, rhythm, and other musical elements that work together to form your song. The basis of good composition revolves around a well-thought chord progression and expressive melodic lines. Having a solid understanding of these elements gives you the power to influence your listener’s emotions, ensuring that your music resonates with them on a deeper level.
Implementing the principles of music theory in your composition is essential. The song’s key, chord progression, rhythm, and melody are a few fundamental elements influenced by music theory.
Next, you’ll want to focus on dynamics and tension in your composition. These elements not only make your track more interesting but also help to guide your listener through your song.
Finally, don’t disregard the usage of silence in your music. Well-placed silence can provide breathing space and add another level of interest to your piece.
Remember, music production is a journey. The more you understand about arrangement and composition, the closer you get to developing your own unique sound. Keep exploring, keep experimenting, there’s always more to learn and discover in the exciting world of music production.
Recording and Editing MIDI
As we dive deeper into the world of music production, let’s tackle the crucial steps of recording and editing MIDI. MIDI, short for Musical Instrument Digital Interface, is the digital language that musical equipment uses to communicate. It’s a powerful tool that allows me to create and manipulate sounds and music in countless ways.
When recording MIDI, I ensure to set my Digital Audio Workstation (DAW) to record MIDI data. It’s as simple as pressing the record button, and playing on my MIDI keyboard or other MIDI controller. I usually start laying down the beat or the main melody first, then proceed to add other layers to the track, following the arrangement and composition that I’ve previously laid out.
Although MIDI data looks different from audio waveforms, it’s still convertible into sound. It includes information about pitch, velocity (how the instrument is played – softly or loudly), and other controller data.
Editing MIDI gives me the flexibility to perfect my performances after the fact. I could modify the pitch of a misplaced note, or adjust the timing to ensure that it’s perfectly in sync. Advanced editing techniques can also be used to make the performance sound more human, including slight timing variations and velocity adjustments.
In my DAW, I use the MIDI editor to make these modifications. This tool displays the MIDI information in a piano roll view, which shows the note pitches on a vertical piano keyboard layout and the timing on a horizontal timeline.
Remember, experimenting is key in mastering MIDI recording and editing. It’s okay to make mistakes – they lead to learning and improvement. Experimenting with different sounds and styles may lead to distinctive music creations.
In the upcoming sections, we’ll delve into topics like audio recording, mixing, and mastering, each as crucial as the last in music production. These layers of knowledge build on the foundations we’ve explored so far: music theory, arrangement, composition, and now, MIDI recording and editing.
Working with Audio Tracks
After mastering MIDI recording and editing, it’s time to delve into the world of audio tracks, another cornerstone in the music production process. Audio tracks offer a ton more fidelity and nuance than MIDI data can capture.
Let’s start with the basics. The beauty of modern digital audio workstations (DAWs) is that they can handle both MIDI tracks and audio tracks seamlessly in the same project. Thanks to this, we’re free to record physical instruments such as guitars, synths and, of course, vocals, directly into our computer.
To get started, you’ll need an audio interface and a microphone. Remember the better the quality of your audio interface and microphone, the better the sound quality of the recording.
Suppose you’re recording a guitar or keyboard. First, ensure it’s connected and record in a quiet, acoustically treated space if possible. Open a new audio track in your DAW, press the record button, and play your instrument. You’ve now created your first raw audio track. Audios similar to this one are the crux of music production.
All about Editing
Editing raw audio tracks involves a variety of tasks such as adjusting volume levels, removing unwanted noise, pitch correction, and fine-tuning the timing. The main goal of editing is to create a perfect performance that suits the overall vision for the track.
During this process, I highly recommend utilizing techniques like equalization (EQ), compression and reverb to enhance your track; ready to mingle harmoniously with the other elements of your composition. These techniques might sound complicated but, thanks to the variety of plugins available in the DAW, they can be pretty intuitive to use.
Mixing It Up
Mixing involves the combination of multiple individual tracks into a cohesive whole. It’s the stage where you balance your tracks, refine individual elements, tweak frequencies, and add effects. I find this as one of the most creative aspects of music production.
Table showing the difference between MIDI tracks and audio tracks:
| MIDI Tracks | Audio Tracks | |
|---|---|---|
| Digital vs Analog | Digital (binary data) | Analog (continuous undulating wave) |
| Versatility | Not versatile | More versatile |
| Usability | Strictly for MIDI instruments | Any instrument can be recorded |
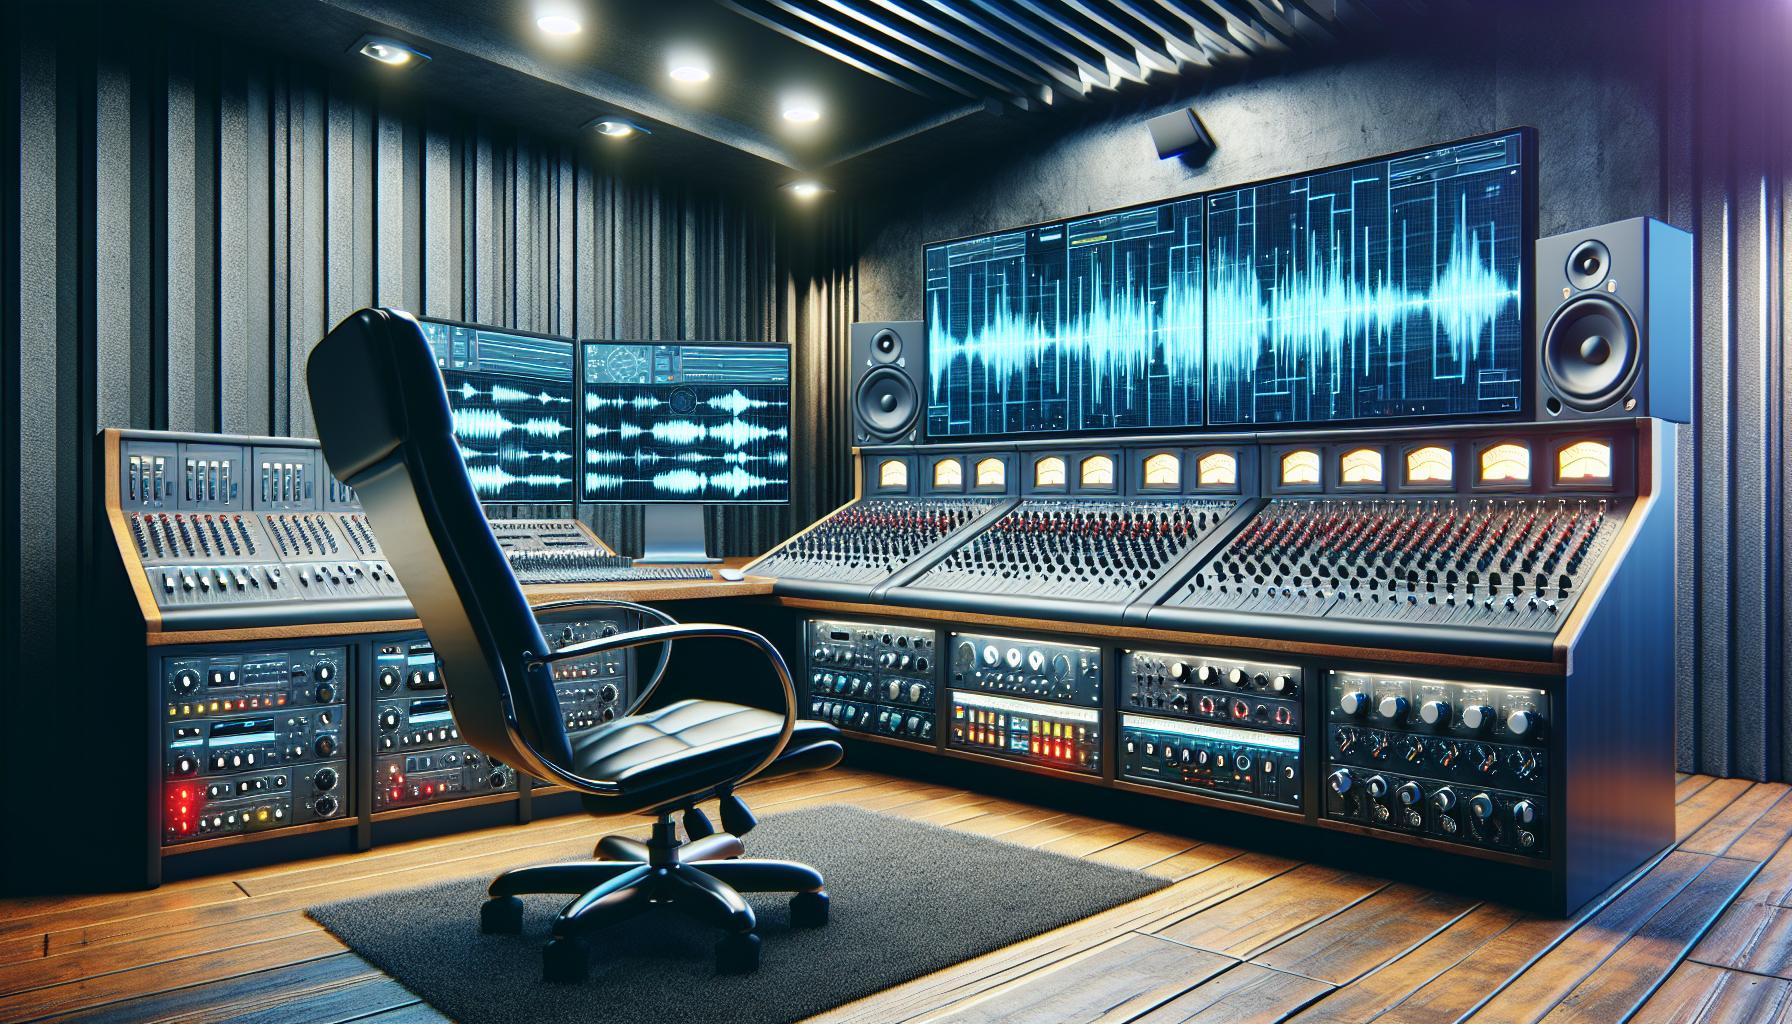
Mixing Techniques: Balancing and EQ

The heart of the music production process lies in mixing, a pivotal phase where the distinct layers of a track mingle to create a cohesive musical output. The success of a mix heavily rests on balancing and EQ. Let’s comprehend these two essential aspects.
Balancing is about determining the right level for each track involved in the mix. It’s like deciding the amount of spice in a recipe – too much or too little could spoil the outcome. Don’t rush into it. Start with the most critical tracks and build upon them. As you work through, keep adjusting until there’s an ideal mix level where every track contributes towards a harmonious output without overpowering others. Remember, achieving this equilibrium often demands patience and a meticulous ear.
Next comes EQ or Equalization. Dealing with frequencies, EQ serves as the treble, mid, and bass controls on a larger scale. For a mix to be successful, each track must have its unique frequency space. By tweaking EQ, you’re able to minimize frequency clashes and create a better blend. One practical approach is subtractive EQing. Instead of boosting frequencies to make a track stand out, you try ‘subtracting’ or cutting certain frequencies from other tracks, making room for the one you want to highlight. An effective strategy that prevents your mix from becoming too busy or chaotic.
As we fine-tune our mix, let’s not forget that art is subjective. What sounds good to us might not appeal to another. So, while it’s important to understand and use these techniques, don’t be afraid to break some rules. Music production, after all, thrives on creativity and innovation – continually pushing boundaries to achieve unique and engaging results. As we venture further into the world of mixing, we’ll learn other tools and techniques that could help us in this fascinating journey.
Applying Effects: Reverb, Delay, and Compression

After mastering the art of mixing and adjusting balance and EQ, it’s time to introduce some crucial tools that can infuse life into any track: reverb, delay, and compression. These elements play significant roles in how your final mix sounds, and understanding how to use them is essential in music production.
Reverb is one of the most used effects in music production. It’s all about simulating the natural echo that’s produced in a physical space. By adjusting the reverb settings, you can make your track sound as if it’s been recorded in a small room, a large hall, or even an infinite space. Reverb can give a sense of depth and space, ultimately enhancing the listener’s immersive experience.
Then we have Delay, another essential tool that can add an interesting twist to your sound. Delay, as the name suggests, repeats an audio signal at varying intervals, creating an echo-like effect. It’s a powerful tool to emphasize certain parts of your track or add a sense of width and depth. Delay can be utilized creatively to build rhythmic patterns, enhancing the overall texture and vibe of your music.
And last but not least, there’s Compression. Compression is about controlling the dynamic range of your track. It reduces the gap between the loudest and the softest part of your sound, thus providing a more consistent level. When used right, compression can make your tracks sound more polished and professional. But be careful not to over-compress as it can cause your music to lose its natural dynamics and feel flat.
Play around with reverb, delay, and compression and see how they can impact and improve your tracks. There’s no set formula here, and the best way to understand these effects is by trying them out yourself. After all, music production is all about experimentation. The next part of our step-by-step tutorial will delve into the final stages of the music production process, focusing on mastering.
Mastering Your Tracks
After you have mixed and treated your tracks with the right doses of reverb, delay, and compression, it’s time to put the final polish by mastering your tracks. This process is an indispensable part of music production and it’s sometimes referred to as the “finishing touch”.
Why is mastering important? Mastering is the step that brings cohesion to your tracks and ensures your song competes favorably with other professional recordings when broadcasted on radio, played in clubs, or streamed online. It’s about adding the final sheen, making sure the track is optimized for all playback systems – from tiny cellphone speakers to high-end sound systems.
Mastering involves processes like:
- Correcting minor mix deficiencies with equalization
- Ensuring the track has the right balance
- Compressing to control peak levels
- Widening the stereo field
- Raising the overall volume to competitive levels
- Applying dithering and sample rate conversion.
It’s vital to remember that mastering isn’t about making big changes but rather subtle improvements which when combined, give the track a feel of completeness. Furthermore, mastering requires a high level of objectivity, precision, and a well-equipped studio environment.
My advice to anyone new to mastering is to engage the services of a professional mastering engineer if your budget allows. However, if you’re keen to do it yourself, there are some excellent mastering software and plug-ins available nowadays. Some of these include iZotope Ozone, FabFilter Mastering Bundle, and Waves Grand Masters Collection.
The journey of mastering your tracks can be a steep learning curve, but like any other aspect of music production, it’s highly rewarding once the skills are acquired and applied correctly. It allows you to complete your musical vision and package it in the best possible way. Just remember that there’s no shortcut to becoming good at mastering. It requires patience, practice, and an in-depth understanding of sound.
Conclusion
So there you have it. Mastering tracks isn’t just a final touch or an afterthought – it’s the key to making your music stand out in a crowded field. It’s a complex process, but with the right tools and a bit of patience, you can take your tracks from good to great. Remember, if you’re just starting out, don’t be afraid to seek help from a professional mastering engineer. As your skills grow, you’ll find that mastering becomes less daunting and more rewarding. It’s a journey worth taking, and I can’t wait to see where it takes you. Keep learning, keep experimenting, and most importantly, keep creating. Your music deserves to be heard at its best, and mastering is how you make that happen. So go ahead, take the leap into mastering – your music will thank you.