
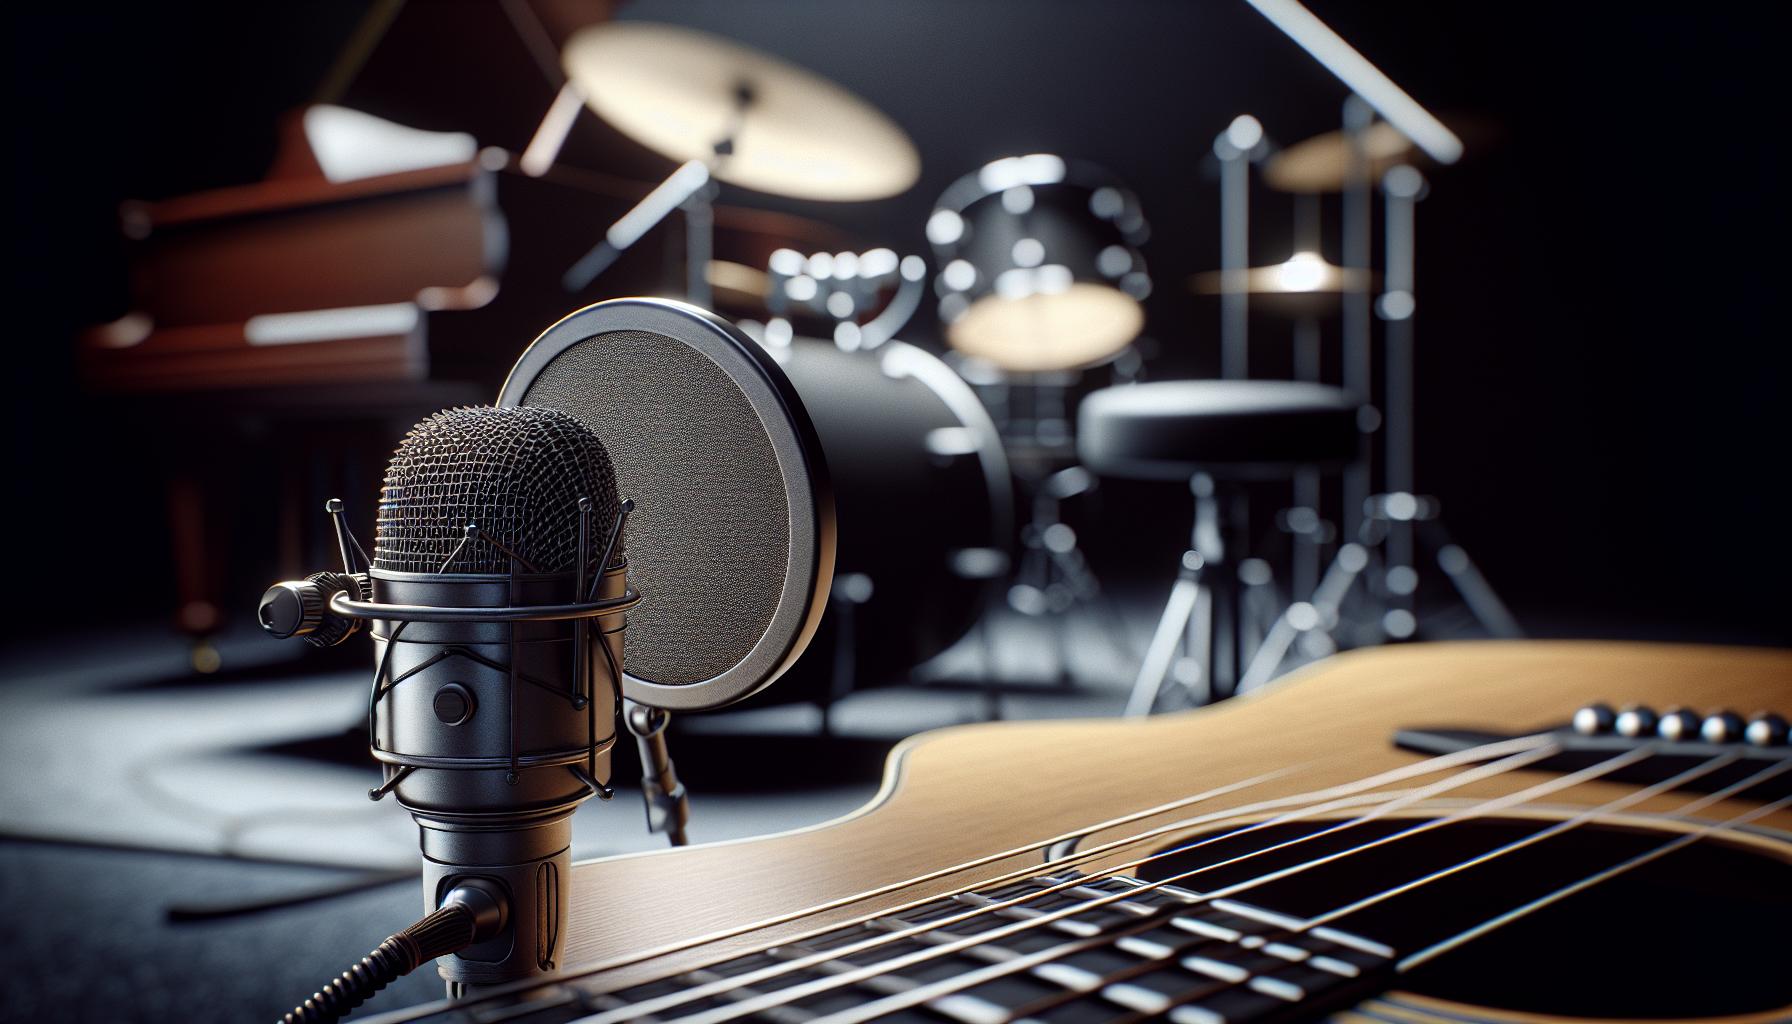
In the world of music production, recording instruments is an art form of its own. It’s not just about hitting ‘record’ and hoping for the best. There’s a science to capturing the true essence of each instrument, and I’m here to share those secrets with you.
From the resonating lows of a grand piano to the piercing highs of a violin, every instrument presents unique challenges. But with the right knowledge and techniques, you can record any instrument like a pro.
So, whether you’re a seasoned sound engineer or a home studio enthusiast, stay tuned. I’ll be diving into the best practices for recording different instruments, helping you to elevate your tracks to new heights. Trust me, you won’t want to miss this.
Contents
Recording Instruments: Best Practices for Recording Different Instruments
When you dive into the world of recording instruments, it’s essential to understand each instrument’s unique characteristics. Guitars, pianos, drums, violins, all have varied sonic qualities and require specific setup and techniques to reproduce their true sound. Now we’ll walk you through some notable practices you can use to get top-tier quality on every take.
Acoustic Guitars
There’s something magical about the sound of an acoustic guitar. But capturing its sparkle isn’t as straightforward as it might seem. It’s all about mic placement and room resonance. Positioning a single condenser mic near the 12th fret often yields a balanced sound. Keep the room’s acoustics in mind; a live room with plenty of reflective surfaces can contribute significantly to a rich, vibrant tone.
Drums
Recording drums is an art in itself. It involves more than just a single mic and requires careful positioning and selection for each element of the drum kit. Here’s a common setup:
- Kick drum – dynamic mic placed inside the drum beat will provide deep, low-frequency punch.
- Snare – small diaphragm condenser mic placed at the side yields dynamic range and accuracy.
- Cymbals – pair of condenser microphones overhead, capturing the shimmer and overall drum balance.
Pianos
Pianos, with their expansive frequency range and loud to soft dynamics, can pose quite a significant challenge in recording. A pair of condenser mics strategically placed inside the open lid works well to capture a detailed and vibrant sound.
Remember, recording is much more than hitting the red button—it’s an inception of art, technical prowess, and a touch of intuition. With these essential tips on recording different instruments, you’re already miles ahead of the game. Keep exploring and refining your techniques. The quest for the optimum sound is eternal and thrilling.
The Art of Recording Instruments
Taking a dive into the art of recording instruments, there’s a vast array of knowledge that can enhance the quality of your production. The goal isn’t just about capturing sound; it’s about orchestrating an immersive listening experience.
First up, let’s delve into the heart of music—the acoustic guitar. This instrument possesses a rich, full sound and recording it can be likened to capturing a sonic photograph. Mic placement is crucial here. Aim for the 12th fret, where the neck meets the body to grasp its balanced tone. Don’t forget, the type of microphone used also plays a significant part. For this, consider using a small diaphragm condenser mic. These microphones are exceptional in capturing acoustic guitar, thanks to their extended frequency response and fast transient response.
Next, we’re moving onto perhaps the most physically complex instrument to record—the drums. These need careful attention as each drum, cymbal, and percussion piece contributes a unique sound to the overall ensemble. Again, microphone plays a big role here. A dynamic mic is often used for snare drums due to its ability to handle high sound pressure levels. For the kick drum, consider mics like large diaphragm dynamic ones. They can deliver a solid low-end punch, and can handle the high SPLs. Avoid placing mics too close: a distance of 3 to 6 inches from the kit works well.
Last but not least, the grandeur and range of the piano makes it challenging to record. It possesses an expansive frequency range and dynamic spectrum that requires aptly capturing. A popular technique involves placing two matched condenser microphones above the open lid, pointing towards the lower and higher ends of the soundboard. This method captures a balanced blend of the instrument’s frequencies.
I’ve shown you the tip of the iceberg in terms of recording techniques. Every recording session is a new opportunity for exploration and honing your craft. Remember, it isn’t just about hitting the record button! Keep embracing audio technology, and foster your passion for capturing pristine, compelling sound. The journey only expands from here.
Understanding the Challenges of Recording Instruments

Recording instruments isn’t as simple as hitting the record button. There’s an artistry to it – a scientific, yet creative process that’s different for every instrument.
The journey of capturing each instrument’s unique sound is filled with challenges. And one of the most common struggles I’ve encountered is the fight against unwanted noise.
Unwanted noise stems from a variety of sources. Outside noise, room resonances, even our dear musicians could unwittingly add background noise. It’s crucial, then, to work in a soundproof room and encourage best practices among your musicians. Because even the highest quality equipment can’t fully eliminate unnecessary noise once it’s made its way into your recording.
Controlling frequency overloads is another challenge. Certain instruments may produce frequencies that are too high or too low for your recording equipment to handle. The result: distorted or lost sound. I’ve learned that understanding each instrument’s frequency range, and selecting your microphones and settings accordingly, helps circumvent this problem.
And then there’s the conundrum of capturing the “live” experience. In a live performance, each instrument’s sound can expand and fill the space. They bounce off the walls, mingle with other sounds, and create what we often refer to as the “concert vibe”. Recording this experience can be tricky, as the sound within a studio or room may not expand the same way. To tackle this, I opt for recording in different environments, while experimenting with mic placement, to best capture this elusive live vibe.
Let’s not forget that, the size or form of an instrument isn’t always reflective of the challenges it might pose. Take pianos for example. Their expansive frequency range and complex harmonics make them a real test to record. You’ve to accommodate for low bass sounds, mid-range frequencies, and high treble tones – assuring that the sound recorded is as faithful to the original as possible.
The road to recording excellence is certainly riddled with challenges. However, with the right techniques and patience, you can turn these hurdles into stepping stones towards creating magical, immersive soundscapes.
Time, then, to dig deeper into the specifics of recording acoustic guitars, drums, and pianos, as we explore more in the next sections.
Recording Techniques for Grand Piano
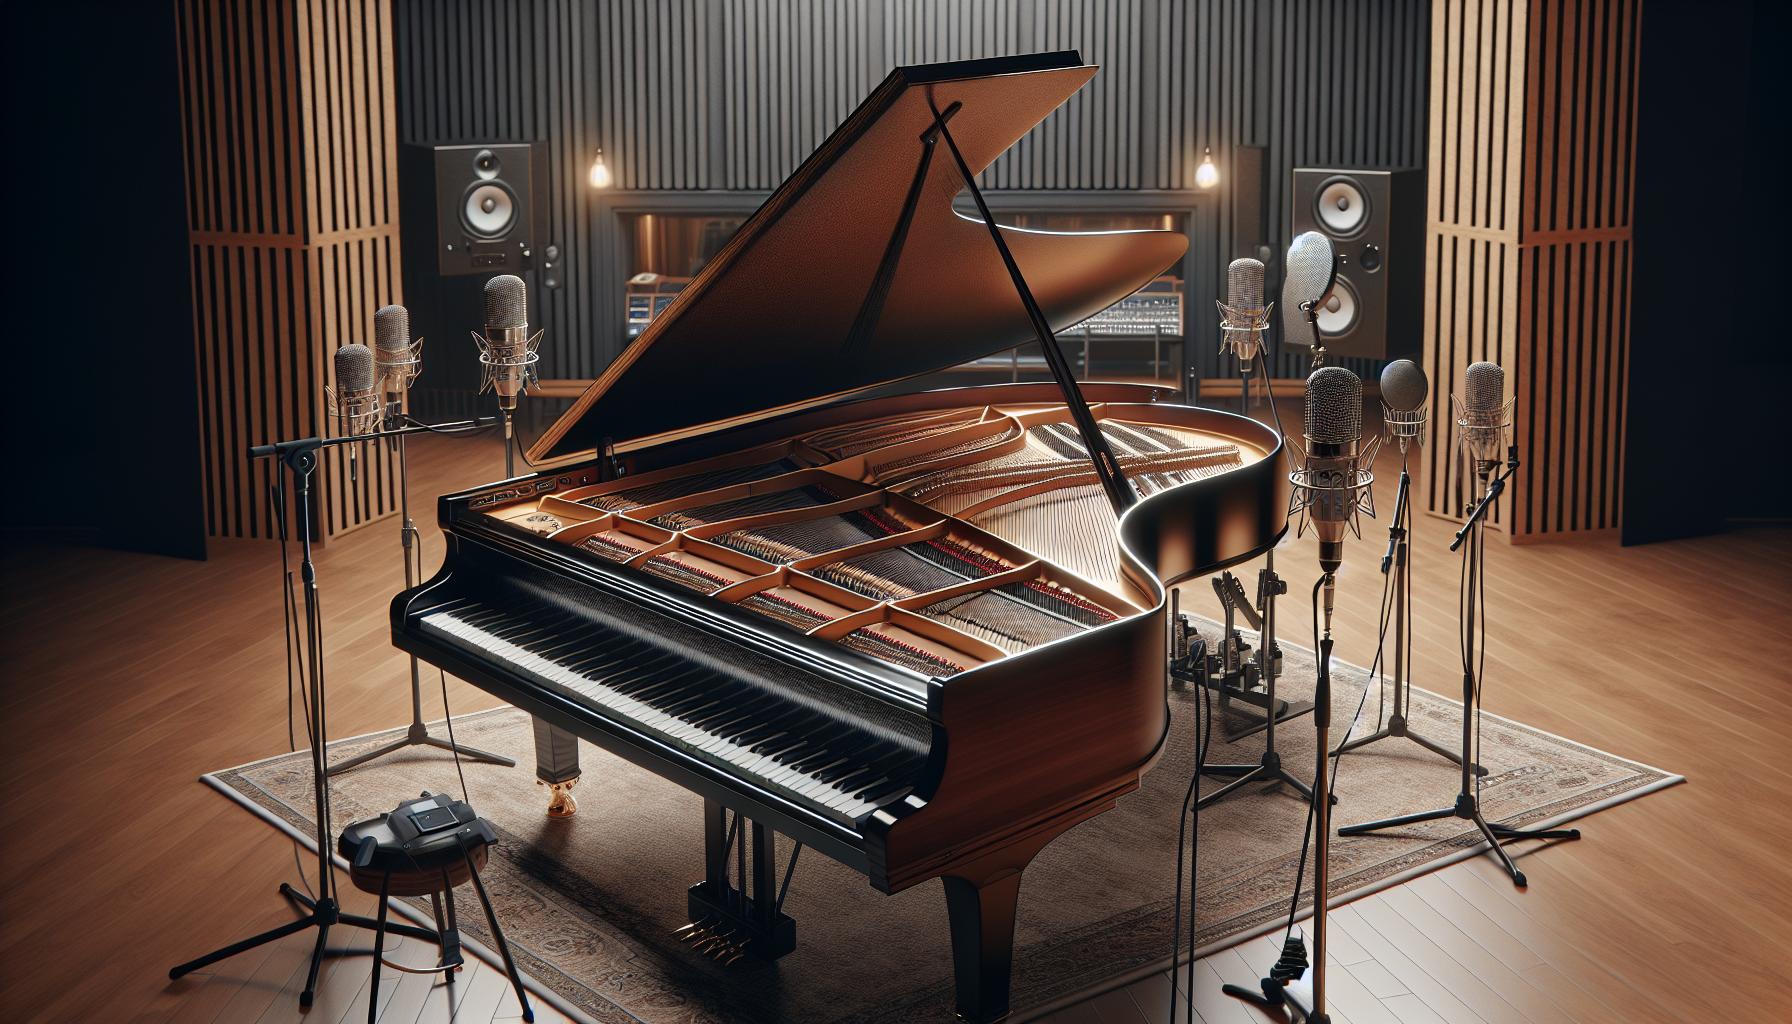
Recording the grand piano isn’t a walk in the park. This majestic instrument has a rich, complex sound – a result of about 230 strings producing tones that fill a room. When recording, it’s not just about placing a microphone in front of the piano. You need to understand the nature of the instrument, the prospective sound from each part, and the recording environment.
Microphone placement is crucial. For beginners, I’ll recommend an approach that rarely fails. Use two mics: one close to the soundboard low-end and the other closer to the high strings. This will capture both the resonance of the lower notes and the crisp attack of higher notes. However, it’s critical to adjust based on the piano’s timbre and tonal balance.
While many prefer close micing, I’ve had success with distant micing – placing the mics 3-6 feet away from the piano. This technique captures a more holistic sound, including the room’s acoustic. Nevertheless, it’s important to note that the room’s acoustics play a major role. An untreated room with a lot of echo may distort the recording.
Next, we delve into the importance of using the right microphones. Different mics have various directional patterns and frequency responses. As a general guide, I suggest using large-diaphragm condenser mics due to their sensitivity, wide frequency range, and clear, detailed reproduction.
Lastly, we look at the pianist’s playing dynamics. Encourage the pianist to explore different techniques to capture various tones of the piano. Including everything from soft, intimate playing to powerful, energetic performances will provide depth and diversity in your recording.
Armed with these essentials, your mission to crack the code of recording a grand piano should be a little less daunting. And in the next section, we’ll explore the world of recording acoustic guitars.
Capturing the Essence of a Violin: Tips and Tricks
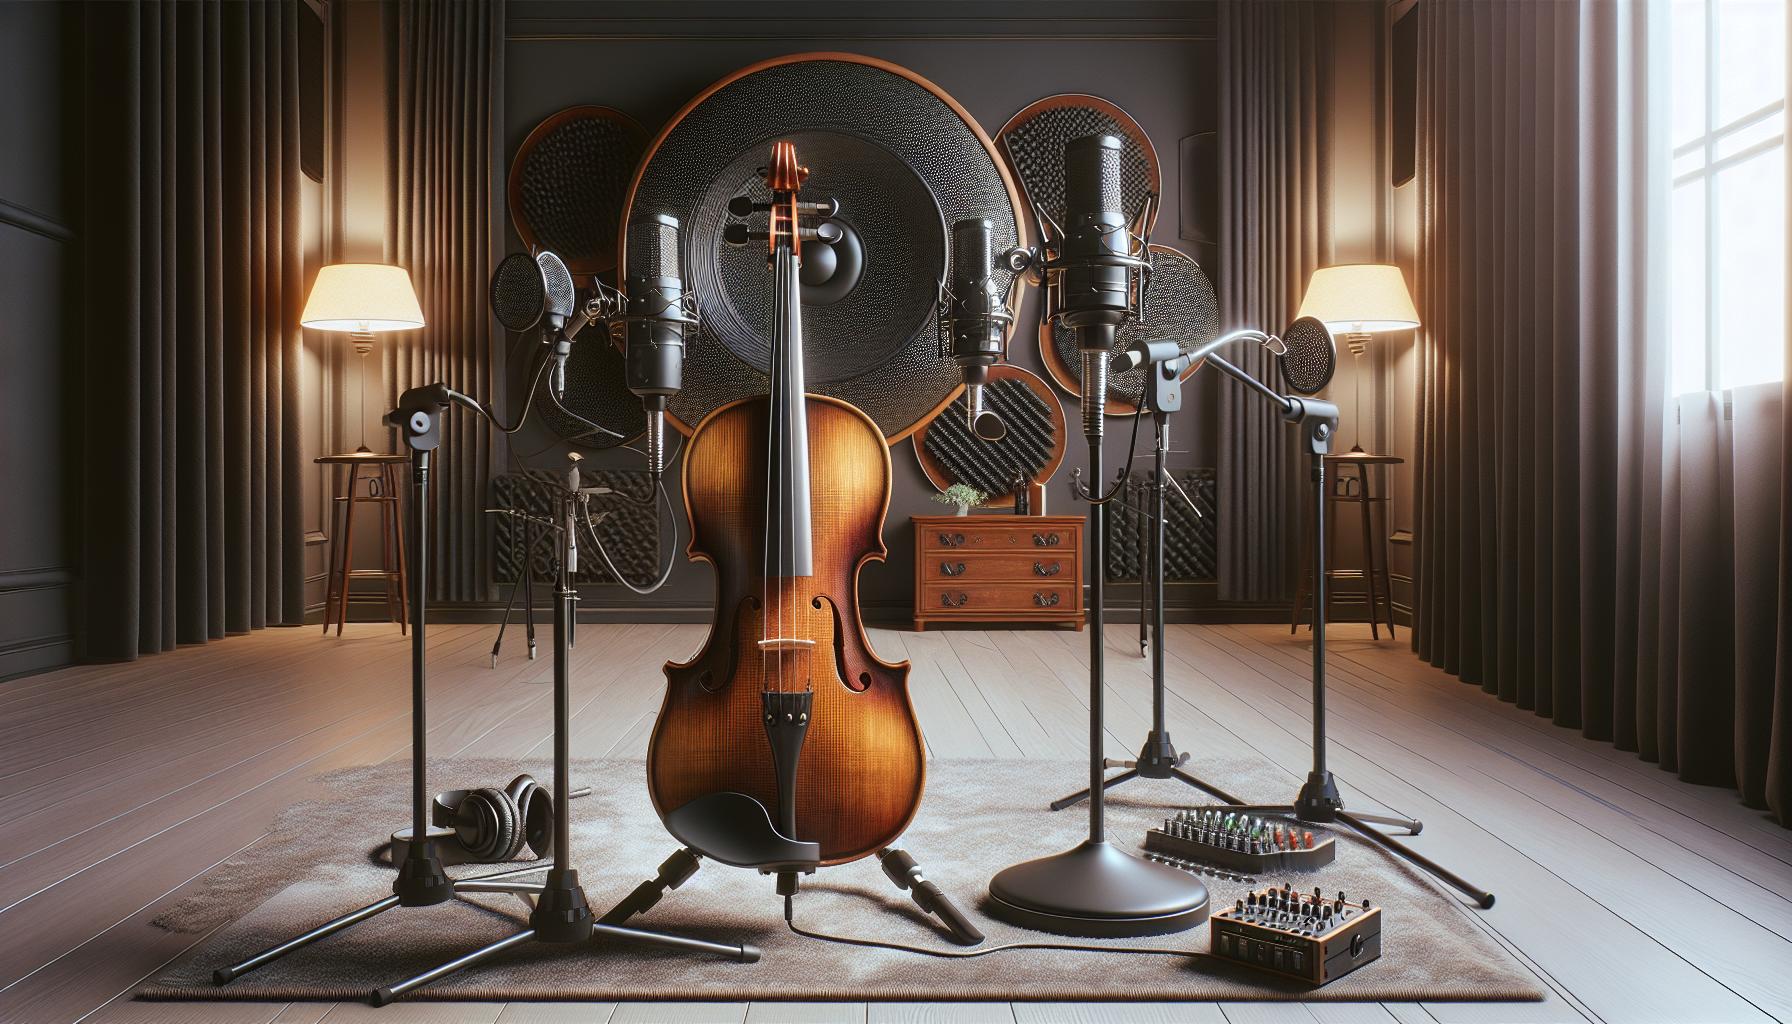
As we transition from discussing grand pianos, let’s now turn our attention to another instrument: the violin. With its rich, intricate tones, and dynamic range, capturing the essence of a violin in a recording can be as complex as the instrument itself.
The most critical factor in recording a violin is microphone placement. Small shifts in mic positioning can cause dramatic changes in the captured sound, so I’d recommend experimenting. Standard practice suggests arranging the microphone at a distance of about 12 to 16 inches from the violin, aimed between the bridge and the F-holes. However, don’t be afraid to break the rules; sometimes, the perfect sound comes from unexpected locations.
Just like with the grand piano, using two mics—commonly known as a stereo pair—can produce awe-inspiring results. This technique lets you catch the violin’s unique mix of direct sound from the strings and reflected sound from the room. One mic could be closer to the instrument to snatch the immediate tone, with the second mic set further away to gather room reflections.
Remember, the room plays a much larger role here than it does with piano recording due to the violin’s natural ability to project sound. Therefore, you want to ensure you’re working in a space with decent acoustics. Take time to play around with the mic setup and adjust according to the room’s characteristics.
About microphone selection, ribbon microphones can be a great choice. Ribbon mics tend to capture a more authentic and soft sound, preventing the violin from sounding harsh or brittle. However, large-diaphragm condenser mics mentioned before, can also work particularly well if you’re aiming for a more brilliant tone.
Lastly, communication is vital. Working with your violinist, encourage them to experiment with varied bowing techniques, pressure, and even positions on the stage. Every change creates a different sound, and as the expert, it’s your job to capture the violin’s full range.
After mastering these essentials, you’ll see recording a violin is more of an art than a hurdle. It pushes you to interact with the instrument in a much closer, more personal way, more than merely setting a mic and pressing record. As we continue navigating the world of recording instruments, up next, we’ll dive into mastering the art of recording wind instruments.
Recording the Warmth of Acoustic Guitar
What people often love about acoustic guitar is its warmth and resonance. A challenge in recording an acoustic guitar is ensuring all its subtle nuances are captured. When recording this instrument, one must consider three key elements:
- Microphone choice
- Placement
- The room’s impact
Microphone Choice
The right microphone can dramatically shape the sound captured from an acoustic guitar.
A small-diaphragm condenser microphone is a popular choice due to its detailed sound and extended high-frequency response.
Microphone Placement
Correct microphone placement is essential when recording an acoustic guitar – it’s not a one-size-fits-all approach. Each guitar has its unique characteristics, which necessitate different positioning for the best sound capture. One useful technique is placing the mic 12 inches from where the neck meets the body of the guitar. This positioning typically strikes a good balance between low and high frequencies.
However, it’s always recommended to move the microphone around while the musician plays, listening carefully to find the sweet spot.
The Room’s Impact
It’s easy to forget, but remember that the room’s acoustics play an intrinsic role in capturing the warmth of an acoustic guitar. A well-treated studio can provide a clean recording, but don’t discount the possibility of recording in larger spaces such as living rooms or even stairwells. These locations often add a nuanced, natural echo that can enhance the recorded sound.
It’s an exciting process to capture the warmth of an acoustic guitar. By understanding these key components, we can ensure we’re getting the perfect sound. Don’t be afraid to experiment with microphone placement, play around with room acoustics, and always make sure the musician feels comfortable and is playing naturally. There’s no definitive playbook—part of the magic lies in experiential learning and finding what truly works best for your specific situation.
Best Practices for Recording Drums
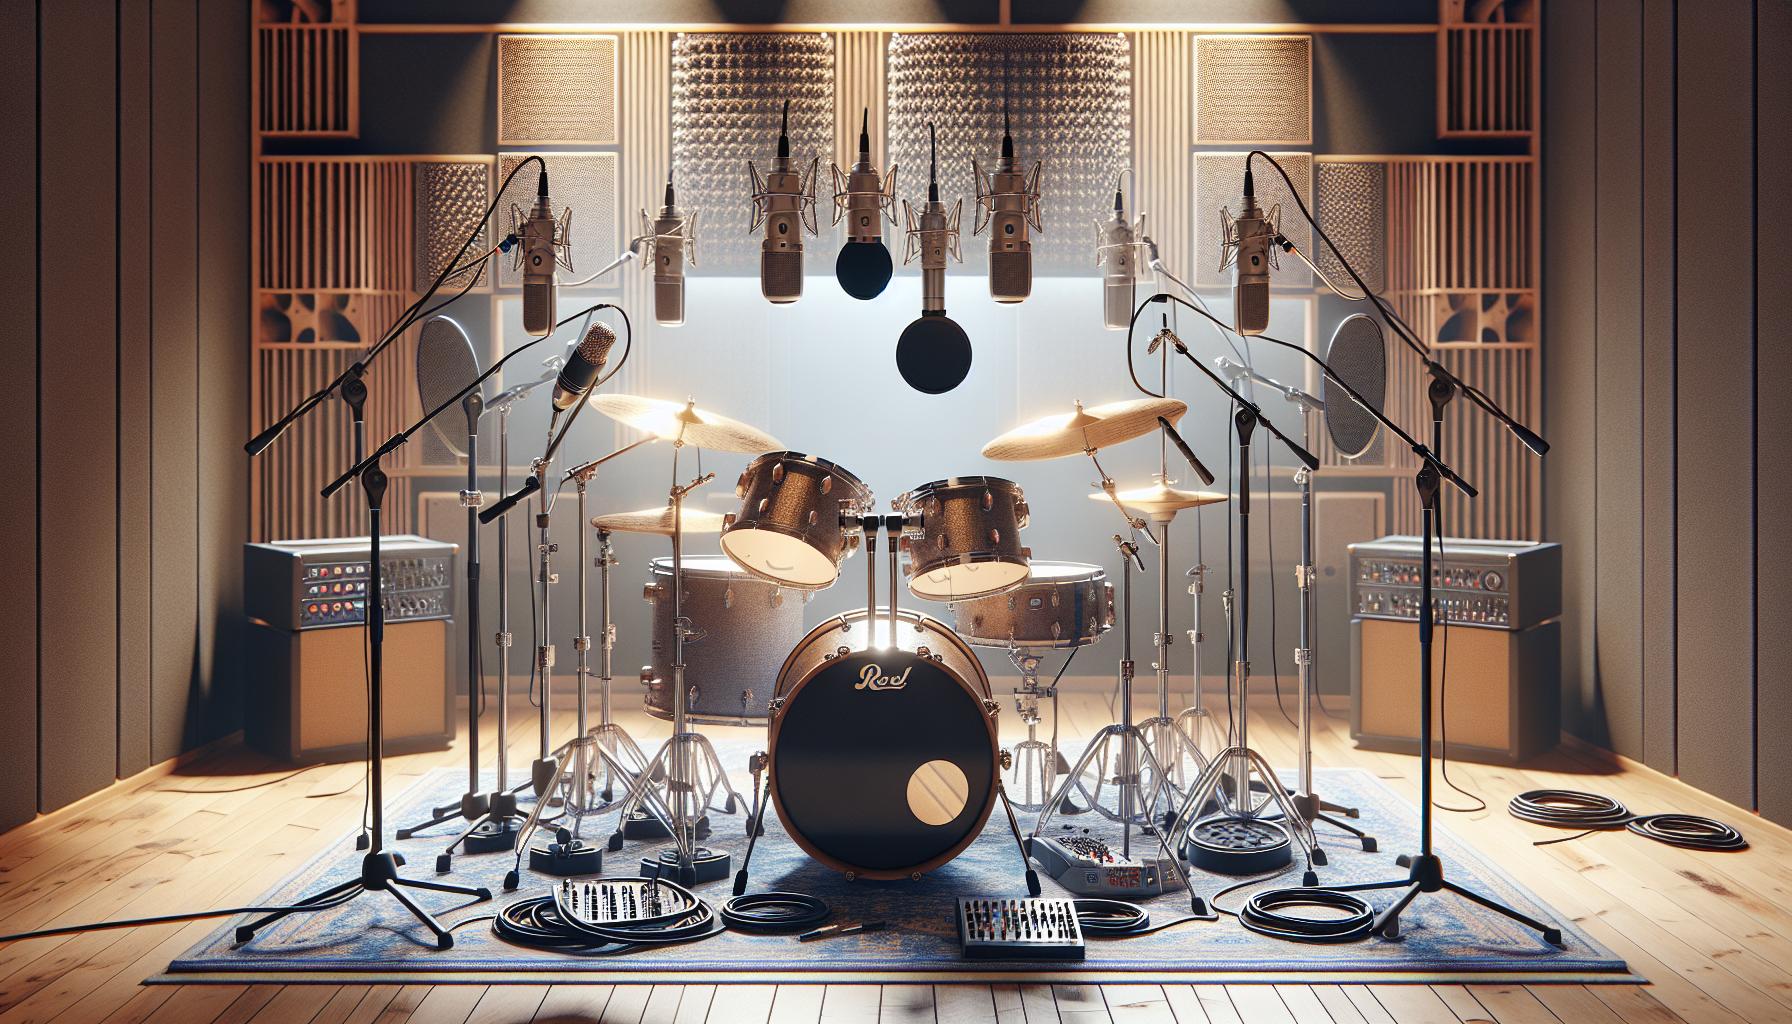
When recording drums, there’s both an art and a science involved. You’ve got to consider the room, the set, the drummer’s playing style, and – of course – your microphones. Let’s delve into the key factors that enhance drum recording and yield professional sound quality.
Considering the acoustics of your room is crucial, as the sound of the drum kit can be significantly influenced by its surroundings. Experimenting with the positioning of your drum kit within the room often leads to a better end result. Whether it’s placed at the center or towards a corner or wall, mic placement, and how the sound waves reflect off surfaces all play a fundamental role in shaping the sound.
It’s equally important to understand the drum kit’s characteristics. Every drum and cymbal has its own distinctive tone and resonance. Being cognizant of these unique characteristics helps position the microphones for optimal sound capture. A common practice is to use direct mics for kick drum and snare, overhead mics to capture cymbals and the toms, and a room mic to grab the ambient sound.
When it comes to microphones and drum kits, remember that less can often mean more. A well-placed two-mic setup – with one situated near the kick drum and one overhead capturing the rest of the kit – can sometimes yield great results. This minimalist setup focuses on overall balance across the drum set, rather than isolating each individual element.
The drummer’s playing style is an important aspect too. Whether it’s a quiet brushstroke or an aggressive rock beat, every drum hit influences the recorded sound. Encourage drummers to play as they would live: it encourages an authentic capture of their performance.
Lastly, remember that patience and careful listening are key when it comes to capturing the best possible sound. While certain standards and practices exist, there’s a certain degree of trial and error involved too. By continually adjusting and experimenting, the chances of achieving that great drum sound are definitely increased. A flexibility approach and readiness to adapt are certainly your best friends on this musical journey.
Mic Placement and Techniques for Recording Brass Instruments
Now that we’ve covered drums, let’s dive into the fascinating world of recording brass instruments. This family includes instruments such as the trumpet, trombone, and tuba. The key challenge with brass instruments? Capturing the powerful, resonant tones they’re known for.
Firstly, it’s crucial to take into account the directionality of the instrument. Brass instruments, unlike most others, project sound in the direction the bell is pointed. So, mic placement here is vital. Typically, positioning the microphone a few inches from the bell at a 45-degree angle can capture a well-rounded sound that balances brightness and body.
Next, room acoustics play a significant role in defining the quality of brass recordings. Brass instruments need space to breathe, and even a slight echo can boost their richness manifold. However, be aware of the room’s ‘bright spots’ – areas where the instrument’s sound tends to become too loud or harsh.
The choice of microphone is also vital in this process. Consider using ribbon microphones for their exceptional abilities to withstand high sound pressure levels. Plus, they can add a pleasant warmth to the recorded sound, often eliminating the need for excess EQing.
Allow me to share some personal tips. I’ve discovered dynamic microphones can be fantastic options when close miking is called for. They can handle high sound pressure levels and do a decent job at diminishing unwanted background noises.
Tempo and Dynamics
There’s more to recording brass instruments than selecting the right gear and deciding upon the perfect positioning. Understanding the song’s tempo and the dynamics of the musical piece are often just as important. For faster-paced songs, you might want to open up the room and add a bit more reverb. On the flip side, for slower, more soulful pieces, a close-miked approach with a bit of added warmth from the EQ can get you the desired results.
But remember, these are tips based on personal experience and may not always yield the same results. So, experiment to find what works best in any given scenario. The process of recording is trimmed down to trial, error, and a keen ear for detail. In the forthcoming sections, I’ll discuss the ins and outs of recording string and wind instruments, delving into more unchartered territories in our quest for that perfect sound.
Secrets to Recording Woodwind Instruments
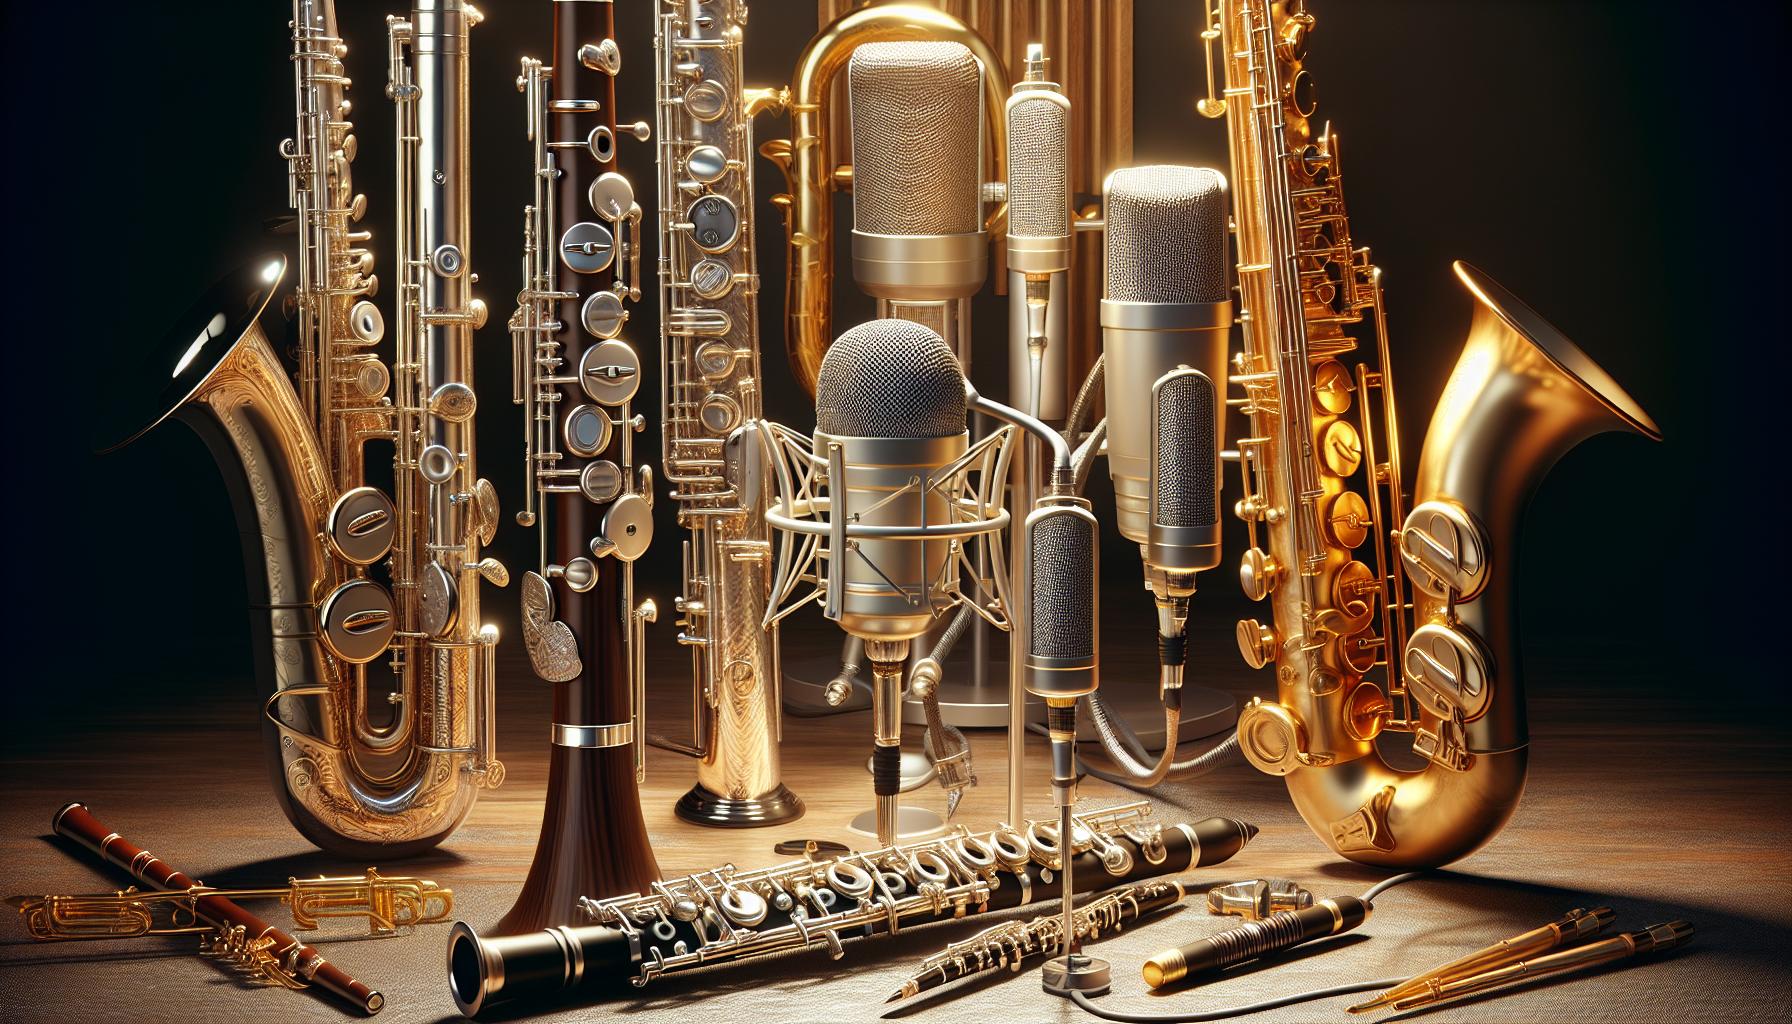
When considering woodwind instruments, it’s crucial to recall that these instruments have a wide range of timbres and pitches. Each has its own unique characteristics, so let’s dive into some of the secrets to recording them effectively.
Mic placement plays a pivotal role in capturing the sound of woodwind instruments. Don’t just aim the mic directly into the bell; the sound of a woodwind instrument emanates from the keyholes along the body as well. Experiment with different mic positions to see which one gives you the best balance of the instrument’s timbre. Higher positions might catch more of the brighter overtones, while lower positions could capture the warmer, bass tones.
Making use of a quality microphone is also key in recording woodwind instruments. Higher-end microphones tend to have a better frequency response, which is a must-have when capturing the broad spectrum of tones emitted by woodwinds.
Table of Commonly Used Microphone Types and their Purposes:
| Microphone Type | Purpose |
|---|---|
| Condenser | Excellent for capturing higher frequency details |
| Ribbon | Ideal for low to mid frequencies, delivering a smooth and warm sound |
| Dynamic | Robust and versatile, good for general uses |
Another thing about recording woodwinds is the importance of room acoustics. Despite their sometimes soft sounds, woodwinds can produce quite a bit of volume, and without a properly treated room, you might capture more echoes and reverberations than you’d likely wish.
Handling the volume of woodwinds during the recording is also a skill. They can be extremely loud when played fortissimo and quite soft when played pianissimo. As a result, you need to ensure you adjust your recording levels accordingly.
Your focus on these specific elements while recording woodwind instruments will considerably improve your recordings. However, the motto always remains the same – experimentation and continual learning are the true guides for perfect recording sessions. Despite knowing these pointers, don’t hesitate to keep experimenting and exploring new methods to perfect your recording skill.
Conclusion
Recording instruments is an art that requires a deep understanding of each instrument’s unique characteristics. We’ve delved into the challenges of capturing the “live” experience and controlling unwanted noise. We’ve also explored the complexities of recording pianos and the importance of mic placement, room acoustics, and microphone choice for woodwind instruments. Remember, adjusting recording levels to match the volume is crucial. But it’s through experimentation and continual learning that we truly perfect our recording sessions. So, keep exploring, keep learning, and you’ll master the art of recording instruments in no time.