
If you’ve ever wanted to record your own vocals, you’re in the right place. I’ll be sharing some of my top tips for capturing professional-quality vocals. Whether you’re a seasoned singer or just starting out, these tips can help take your recordings to the next level.
Recording vocals is more than just hitting the record button and singing your heart out. It’s about understanding the science of sound, the art of performance, and the tech behind the tools. So let’s dive in and get your vocals sounding like they belong on the top charts.
Remember, it’s not about having the most expensive equipment. It’s about knowing how to use what you’ve got to its fullest potential. Let’s get started on your journey to recording top-notch vocals.
Contents
Understanding the Science of Sound
Sound is no voodoo magic. It’s just physics doing its thing. Specifically, it’s acoustics, the science of how sound waves interact with the world. Let’s delve into the nitty-gritty so that we can best harness its power.
Sound waves, simply put, are energy. They start at a source (like your own mellifluous voice), travel through a medium (like air), and end up at the listener’s ears, or in our case, a microphone. But there’s more to it than mere transmission. For instance, reflections of sound waves substantially influence how the final recording sounds. That’s why selecting and, if needed, treating a room for recording is a big deal.
Another fundamental aspect of sound science is frequency. Every sound wave has a frequency denoted in Hertz (Hz), which essentially means the number of vibrations per second. A higher frequency results in a higher pitch. Every singer has a unique frequency range and knowing this range helps tailor the recording setup.
Before we move ahead, let’s understand a crucial concept: the frequency response of a microphone. It’s the mic’s sensitivity to different frequencies. Some models favor high pitches, while others do better with lower frequencies. But we’ll always want a balanced frequency response for professional-quality vocals.
Lastly, we mustn’t forget about decibels (dB). A decibel measures sound pressure levels. Recording vocals is a delicate balancing act involving managing dB levels to avoid distortion and maintain clarity.
Let’s summarize these key concepts into a quick reference table:
| Concept | Description |
|---|---|
| Acoustics | The science of how sound waves interact with the environment |
| Frequency | Number of vibrations per second. Affects the pitch of sound |
| Frequency Response of Microphone | A mic’s sensitivity to different frequencies |
| Decibel (dB) | The measure of sound pressure levels |
Understanding the science of sound allows for more informed decisions throughout the recording process. Next up, we’re going to explore the art of performance.
Mastering the Art of Performance

Next on the docket is the art of performing. Now that we’ve got the science down, let’s dive into the more subjective part of recording vocals. Mastering your performance is just as crucial as understanding how your tools and environment affect the finial output.
Believe me when I say, emotion carries voices. Your listeners can tell the difference when a vocalist is invested in their performance. Connecting emotionally to a song and expressing these emotions through your performance often results in a more compelling recording.
The technique is another crucial aspect. Breath control, pitch accuracy, and rhythm understanding are three critical pillars of vocal technique that can significantly improve your recording results. You want every phrase to flow naturally, and that’s where rhythmic understanding comes in.
Let’s not forget pitch accuracy, a skill that can sometimes intimidate novice singers. But don’t fret – remember that even the most revered singers have had a strained high note or two in their careers. Over time, with regular practice, you can improve your pitch accuracy.
Lastly, consider the recording environment. A comfortable, relaxed ambiance can help put a performer at ease leading to more organic and natural performances. If you’re recording in a home studio, make sure it’s a space where you feel comfortable and free to express yourself.
Take every rehearsal seriously and don’t forget the emotional connection. This combination will significantly increase your chances of recording professional-quality vocals. Repeat the following like a mantra: Practice makes perfect. Let’s move on to our next subject, perfecting the recording process. Notice how these elements intertwine? It’s quite fascinating, I must say. And that’s what makes vocal recording an art of balance between the technical know-how and the expressive art of performance.
Choosing the Right Recording Equipment
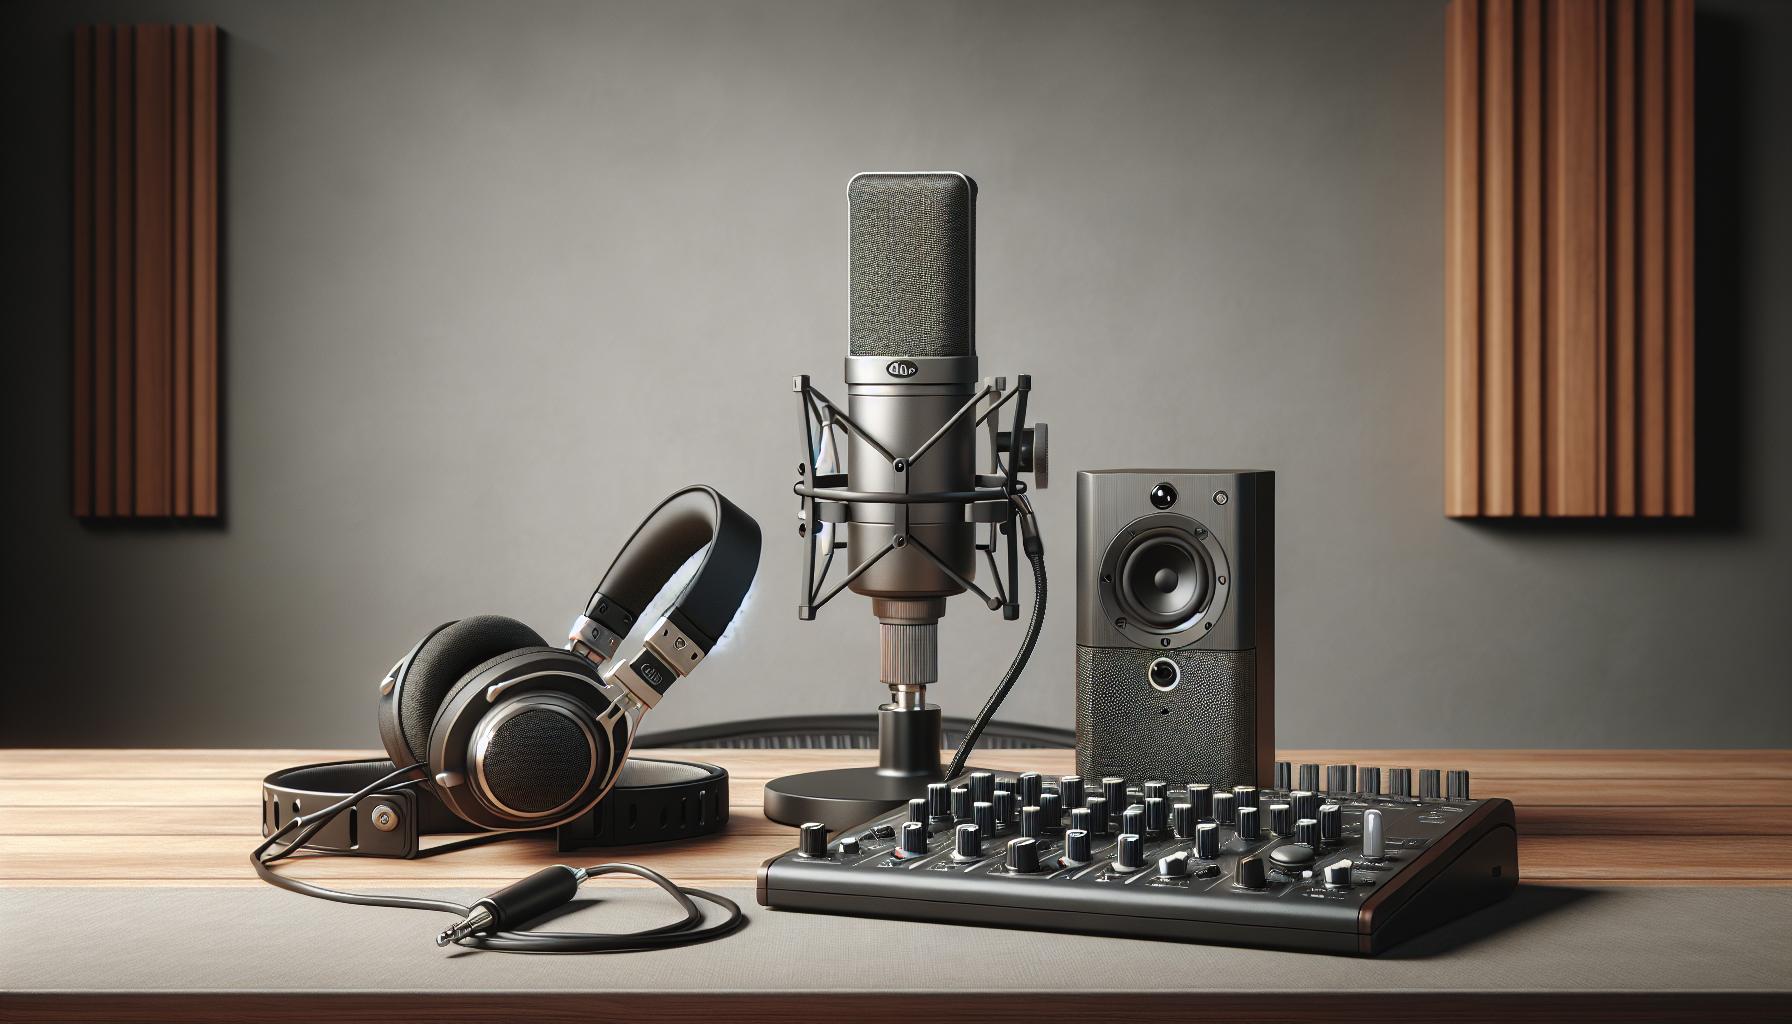
As we dive deeper into the world of vocal recording, we can’t ignore the significance of top-notch recording equipment. Your performance could be world-class, but if you’re recording with substandard equipment, you won’t fully capture the richness of your vocals.
First and foremost, a high-quality microphone is a must. Condenser microphones are widely used in professional studios; they’re known for their ability to capture a wider frequency range and provide better transient response. Although these mics are a bit expensive, they’re an investment that pays off when it comes to recording professional-quality vocals.
Don’t forget about the audio interface. This device – essentially your mic’s best friend – aids in converting analog signals into digital format. It also affects the clarity and depth of the sound. Focus more on interfaces that provide phantom power as this will allow your condenser microphone to operate at its best.
Headphones matter too. Investing in a pair of closed-back headphones ensures there’s no leakage of sound that might interfere with your recording. These headphones help you listen closely to what’s being recorded, enabling you to make necessary adjustments on the go.
Consult the table below to view a summary of the essential recording equipment you’ll need:
| Equipment | Description |
|---|---|
| Microphone | Serves as the primary device for capturing vocals |
| Audio interface | Converts analog signals to digital, aids in sound clarity |
| Headphones | Ensures no sound leakage during recordings |
Remember, the right equipment can make a massive difference in terms of quality and professionalism. The gear you choose should be driven by your unique needs and should comfortably fit in your budget. It’s crucial to balance between cost and quality – but, in vocal recording, compromising on the latter can greatly hamper your output. So, do your research, and invest wisely.
Setting Up Your Recording Space

Once you’ve selected your top-notch equipment, the next vital step is configuring your recording area. Let’s dive into some crucial elements to consider when setting up your recording space.
The room’s acoustics play an essential role in vocal recording. An echo-laden room makes your recording sound amateurish. Therefore, sound treatment becomes a necessity. Implementing some acoustic foam panels on the walls can greatly reduce echo and unwanted noise. As for the floor, carpets help absorb sound better than hard floorings.
Your room should also be isolated from external noise. Surprising as it may seem, a simple knock on the door can ruin a perfect recording.
Next comes mic positioning. It’s important to keep the microphone at the same level as the singer’s mouth. Distance between the singer and the microphone is also paramount. As a rule of thumb, the space should be about 6 inches to 1 foot. Too close causes distortion; too far leads to a loss in vocal dynamics.
Proper lighting is often overlooked, but good illumination sets the mood and helps the singer perform better. Whether it’s warm, soft lights or bright studio lights, it’s all about crafting an environment that complements the singer’s style.
Finally, have a sturdy and adjustable mic stand. It not only keeps the mic steady but also allows the singer to move freely.
Having an aptly set up recording space may seem like an investment of time and effort, but in reality, it’s an effective way to boost the quality of your vocals. The goal is to create a comfortable, sound-friendly environment that amplifies your voice and talent in the best possible way. By focusing on these aspects, you’re well on your way to recording professional-quality vocals.
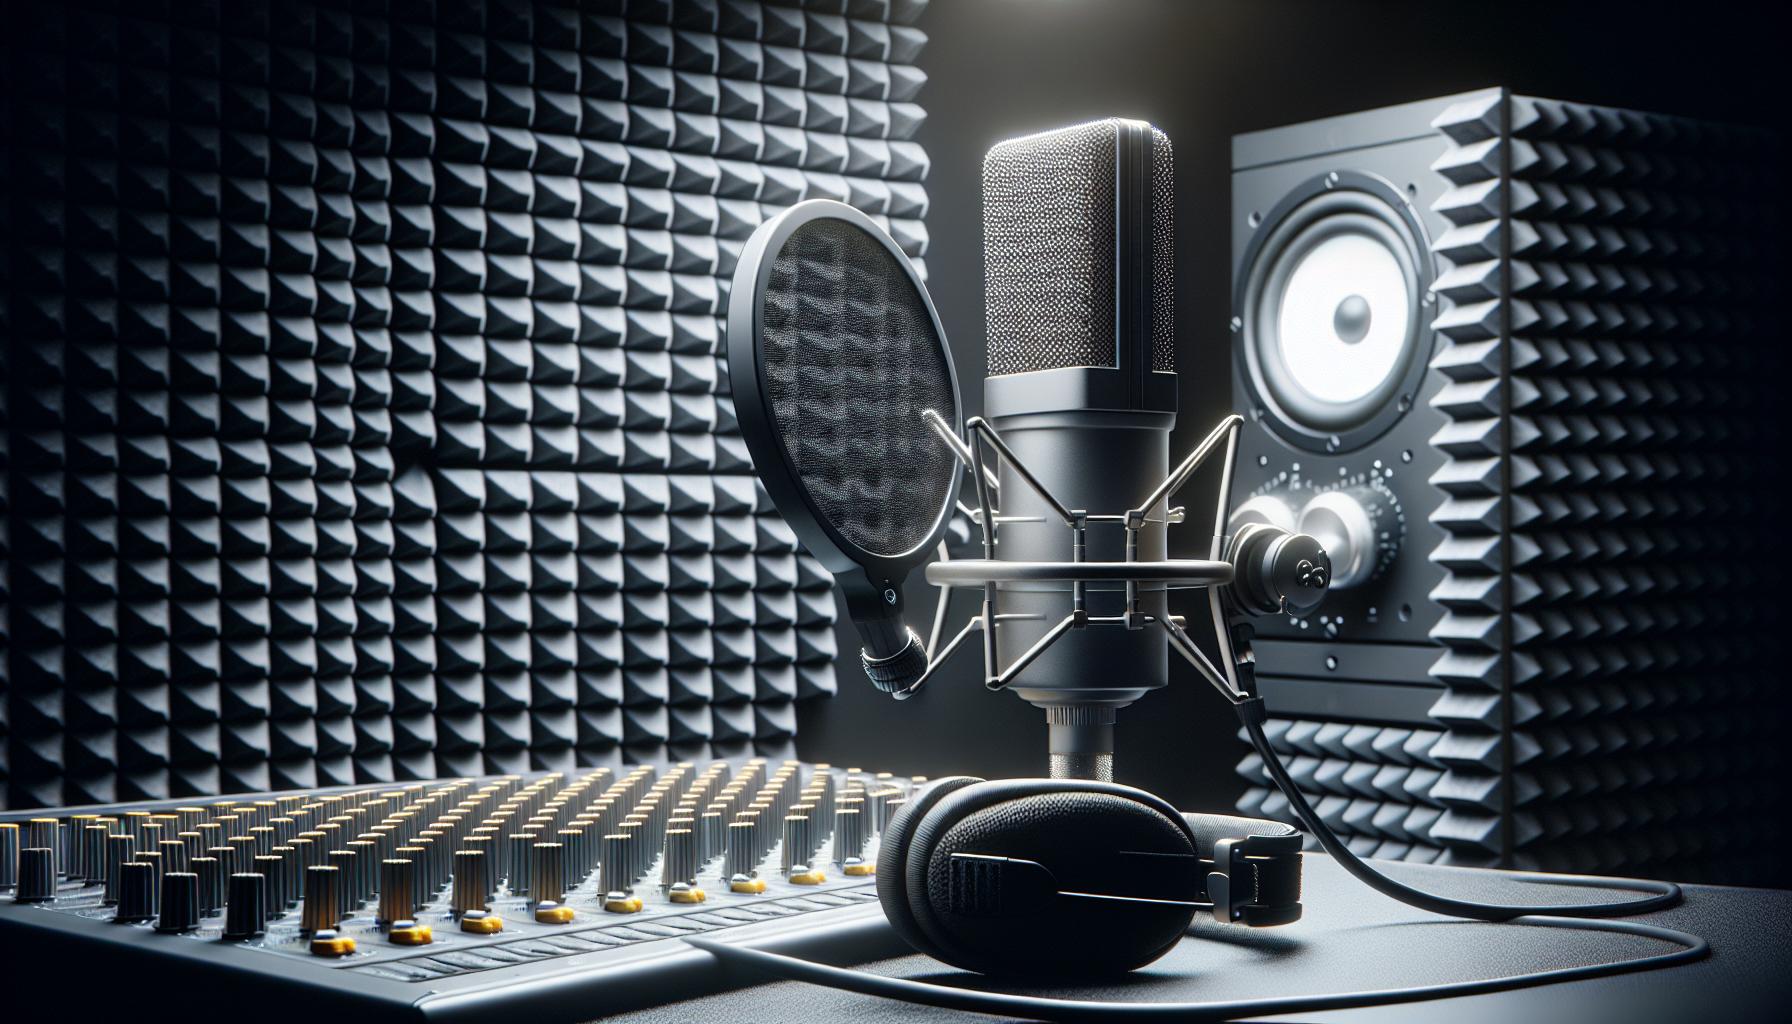
Mic Techniques for Capturing Great Vocals
Mastering mic techniques is a crucial element in capturing excellent vocals. It’s not just about having the priciest microphone or the fanciest studio. With the right mic technique, you can turn a mediocre recording into a stellar one.
Ingenuity plays a significant role in determining how you interact with your microphone. No two voices are alike. Experimentation is the name of the game. Don’t hesitate to try different distances and angles until you find the sweet spot that flatters your specific vocal tone.
Understanding different polar patterns can also optimize your output. Polar patterns determine the microphone’s sensitivity to sounds arriving from different directions. A few common types include:
- Cardioid: Most sensitive to sounds directly in front. It’s the go-to choice for most in-studio vocal recording.
- Omnidirectional: Equally sensitive to sound from all directions. It’s ideal for capturing room ambience.
- Figure-of-eight: Sensitive to sounds from the front and back. It’s often used for duet recordings.
Proximity effect is another aspect that demands attention. This is the increase in bass frequency response as you get closer to the mic, creating a warmer sound. But beware: too close, and you risk creating plosives, those blasts of air from P’s and B’s that can ruin a smooth vocal line.
I do recommend using a pop filter. This reduces plosives and protects the mic from moisture, prolonging its longevity.
Lastly, don’t forget the importance of gain. Balancing the gain is key to avoiding distortion while ensuring the recording is loud enough to sit well in the mix.
Keep these techniques in mind the next time you’re preparing for a recording session. Implementing them effectively will help transform your vocal recordings from good to great. Knowledge is power in the recording studio, and understanding how to effectively use your mic just might set your vocals apart in a massively crowded industry.
Tips for Getting the Best Vocal Takes

Switching gears, let’s take a deeper dive into how to get your best vocal takes. Keep in mind that optimal vocal recording is more than just about mic techniques or gain balancing.
The first tip I’d like to share is preparation. Before hitting the record button, ensure the singer is well-prepared and warmed up. Stretching both the body and the vocal cords might seem insignificant, but it’s often the difference between a good take and a great one. When singing, the whole body is the instrument. So, keeping it relaxed is key to achieving optimal performance.
Next is to create a comfortable environment. This might mean adjusting the room’s temperature, lighting or the overall vibe. The environment directly affects the performer’s comfort level and can greatly influence the quality of the vocal take.
Lastly, it’s about experimenting with different vocal techniques. Trying new things opens up a world of possibilities. Whether it’s exploring a different vocal range or trying out unusual melodies – don’t be afraid to take risks. You never know what might work until you try it!
You may think that getting the best vocal take is all about the singer’s ability, but it’s also hugely dependent on the environment. And, sometimes, it’s the unexpected moments that deliver the best results.
| Factor | Importance |
|---|---|
| Preparation | Key for optimized performance |
| Comfortable Environment | Influences overall quality |
| Experimenting | Opens up possibilities |
With these tips in mind, strive not only for perfection but for authenticity. Great vocal takes are often less about hitting all the right notes and more about capturing the emotion and spirit of the song. With proper attention to preparation, environmental comfort and a little experimentation- you’re well on your way to capturing some of the best vocal takes.
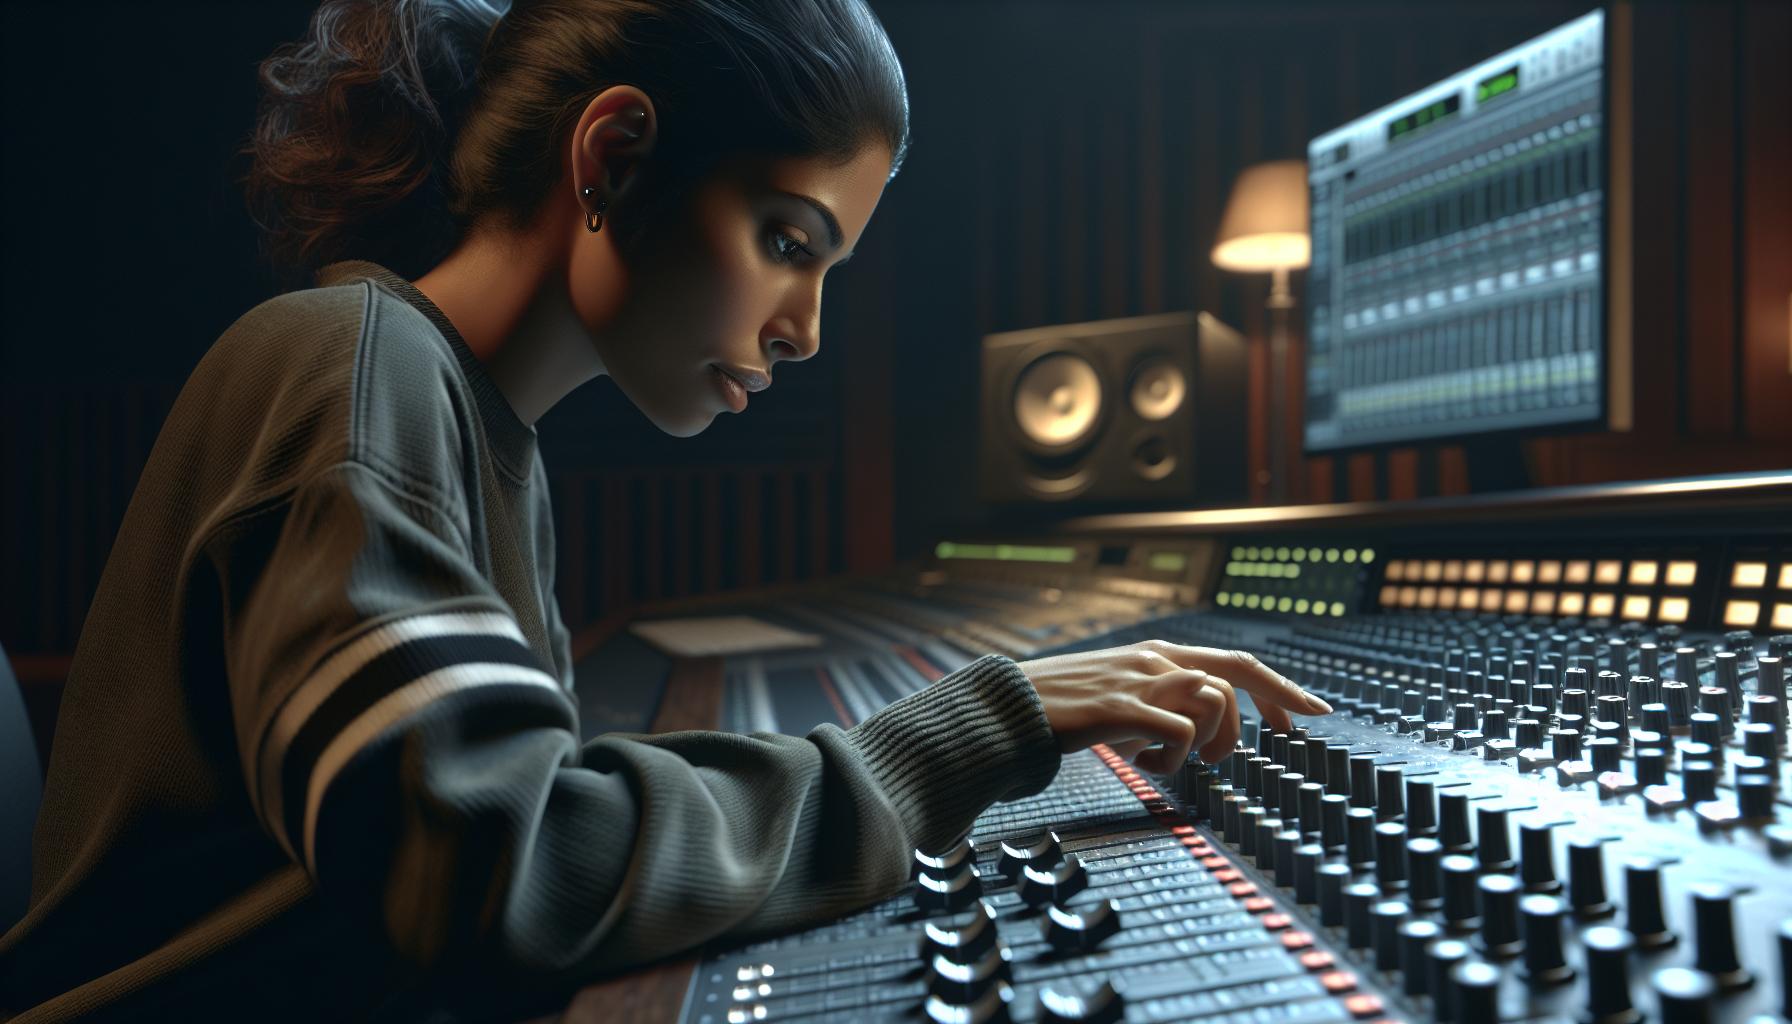
Mixing and Editing Your Recorded Vocals
So we’ve gone through the motions of preparing our singer, setting the right environment, and even experimenting with various vocal techniques. But what comes next? The crux of vocal recording – mixing and editing.
Everyone loves the raw authenticity of a well-captured vocal performance. Yet, even the most seasoned vocalist benefits from a touch of well-placed mixing and thoughtful editing. It can polish the vocals, bringing out their true brilliance.
When mixing vocals, balance plays a crucial role. I’ve learnt that it’s not just about blasting the volume. Instead, it’s about ensuring the vocals sit perfectly within the instrumentals. This equilibrium between vocals and instrumentals allows us to maintain the essence of the song.
In terms of editing vocals, don’t be afraid to embrace technology. Software like Pro Tools, Cubase, and Logic Pro X offer a plethora of plug-ins and built-in tools that can help elevate the vocal track. Equalizers (EQ) and compressors are two such tools that can shape your vocals, delivering a punchier, more balanced output.
As for pitch correction, remember moderation is key. Auto-Tune and Melodyne can be powerful allies in fine-tuning your vocals, but only when wielded with discretion. Remember, these tools aim to enhance your recorded vocals, not to alter the singer’s fundamental style or tone.
Before you dive into the process of mixing and editing, it’s important to keep in mind:
- The song’s emotive core and how you can uphold it
- The singer’s unique voice and preserving its original texture
- The listeners’ experience and how your edits can elevate it
In the end, mixing and editing vocal recordings is an art in itself – a delicate balance between technicality and creativity. It’s more than just a series of tweaks; it’s about bringing the song to life. I’d suggest learning, practicing, and more importantly, experimenting with various techniques to master this craft. But remember, this journey of discovery is an ongoing process, with new techniques and tools emerging every day.
Embrace them, and cherish the ride.
Adding Effects and Processing to Enhance Vocals
After you’ve got your balanced mix, it’s now time to enhance your vocals with effects and processing. These techniques aren’t just for glossing over any imperfections; they’re instrumental in bringing the emotion and style of the vocals to the forefront.
An effect that’s popularly used in vocal production is reverb. This simulates the sound reflections of different physical spaces, adding depth and space to your vocals. While it’s tempting to go heavy on the reverb, remember, moderation is key. Too much reverb can obscure the clarity of the vocals leading to a muddled mix.
Next on the list is delay. This effect produces an echo-like repetition of the vocal. Like reverb, caution must be applied as excessive delay can make your vocals sound cluttered and distracting.
Another essential tool to consider is harmonic enhancement. This effect can add richness and warmth to the vocals by amplifying harmonics which are low in intensity. Low-level enhancement can be especially helpful in adding that bit of extra sparkle that makes the vocals stand out.
Now let’s talk about compression. It’s been mentioned before but it’s worth emphasizing again. Compression helps to maintain balance in the mix by limiting the dynamic range of the vocal. This ensures that the vocals move with the music but don’t overpower it or get lost.
Remember, adding effects is not about plastering over errors, but showcasing the singer’s unique voice in its best light while reinforcing the emotional core of the song. Approach it as a creative process using technical tools to sculpt the sound, to create a final vocal that honors the singer, engages the listener, and enhances the overall audio experience. Experiment with different effects and settings until you find the sweet spot that suits the specific song and vocal style. This is an iterative process and I always advise my readers to embrace the journey.
If you’re wondering how these various techniques might affect your mix, here’s a quick summary:
| Effect | Use | Potential Risks |
|---|---|---|
| Reverb | Adds depth and space | Can obscure vocal clarity if overused |
| Delay | Produces echo-like repetition | Can clutter the mix if overused |
| Harmonic Enhancement | Amplifies low intensity harmonics | Overuse might lead to unnatural sound |
| Compression | Limits dynamic range | Can flatten the vocals if overused |
Finalizing Your Vocals for a Professional Sound
With all the processing and effects applied to enhance vocals, it’s time to take the final steps that lend a professional touch to your recordings.
Precision is key when it comes to the finalization phase. Here, we tweak the small details, painstakingly perfecting minor aspects that contribute to the overall polished sound. A crucial aspect to pay close attention to during this stage is the balance between the lead vocal and the backing tracks. It’s essential that the vocal track doesn’t overpower the rest of the elements, yet still maintains its prominence.
Automation plays a significant role here. It allows me to control and adjust volume levels throughout the track, leading to a well-balanced and dynamic final product. Remember, moderation is crucial. Over-automation might end up making the vocals sound robotic and overprocessed.
Another essential aspect to consider during finalization is the use of equalization or EQ. EQ helps shape the tone of vocals, making them stand out in the mix without clashing with other elements. It’s used to remove any unwanted frequencies, accentuate the desirable ones, and smoothly integrate the vocal track with the instruments.
Here, the frequency table can be a useful guide. Let’s look at what different frequency ranges contribute to the vocals:
| Frequency Range | Contribution |
|---|---|
| Below 100 Hz | Mostly rumble, can usually be cut off |
| 100 – 200 Hz | Adds depth and body |
| 200 – 500 Hz | Can contribute to a muddy sound if overdone |
| 500 Hz – 2 kHz | Adds warmth and fullness |
| 2 – 4 kHz | Contributes to vocal presence |
| Above 4 kHz | Adds brightness, sibilance occurs here |
With these steps carefully executed, your vocals would take on a professional sound. Of course, lots of experiments and adjustments are involved in this process. And as we delve further into the roles of each processing technique and tool, we’ll gradually start uncovering the limitless possibilities of vocal recording.
In the next section, we’ll dig deeper into the world of vocal recording. Starting with different methods you can use to capture a more natural sound when recording.
Conclusion
So, there you have it. We’ve delved into the nitty-gritty of recording professional-quality vocals. Remember, precision and balance are key. Don’t overlook the importance of automation in controlling volume levels. EQ is your friend and can shape your vocals to perfection, with the help of a frequency table. But above all, it’s about experimenting and adjusting. There’s no one-size-fits-all solution in the vocal recording process. It’s a journey of discovery, and what works for one may not work for another. So, keep playing around until you find your unique sound. Happy recording!