
In the music industry, it’s all about making an impact, and your song demo is your calling card. It’s what you’ll use to grab the attention of record labels, producers, and potential collaborators. But how do you ensure your demo stands out from the rest?
Creating a professional song demo isn’t as daunting as it might seem. With the right guidance, you can craft a demo that not only showcases your talent but also catches the ear of industry professionals. In this article, I’ll share my expertise on how to create a demo that’s polished, compelling, and most importantly, professional.
Contents
Choosing the Right Songs for Your Demo
It’s absolutely critical to pick the right songs for your demo. The songs should not merely showcase your talent, but also reflect your individuality as an artist. Top industry professionals love to see that unique flair, that something extra you bring to the table. That’s what gets you noticed.
The best demos often include a mix of both original and cover songs. Cover songs allow you to demonstrate your music chops and creativity while original songs give a hint of your songwriting prowess. You want the listeners to remember your music and keep humming even after the song has ended.
Keep in mind, a quality demo need not have an extensive track list. In fact, most demos should include only three to five songs. It’s more about the quality of your content than its quantity.
Let me provide a few tips to help guide your song selection process:
- Choose songs that best represent your style. If you are a county singer, it wouldn’t make much sense to include a punk rock song in your demo. Your selection should align with the genre you wish to pursue.
- Think about audience appeal. This means not just selecting songs you love, but also thinking about what your target audience or record label would appreciate.
- Consider the recording quality. A song might be fantastic, but if it’s poorly recorded, it could harm your demo’s overall impression. It’s vital that all songs included in your demo are as well-produced as possible.
Without restricting yourself to a rigid song pattern, think of your demo as a professional snapshot of your musicianship. Reflect carefully on which pieces of your work you’d like to highlight. Ultimately, your demo should be a true reflection of who you are as an artist.
Preparing Your Materials
Before diving headlong into the song demo creation process, you’ll want to start with preparing your materials. This preparation should not be taken lightly as it often leads to a more polished, professional output.
First, you’ll need to choose the songs you want to include in your song demo. As we’ve discussed earlier, these should be a mix of original and cover songs that best showcase your talent and reflect your unique style. It’s not about cramming as many songs as you can into the demo, but selecting the ones that truly exemplify your individuality as an artist and your prowess as a songwriter.
Next up is ensuring you have the right equipment and software. This doesn’t mean you need the industry’s top gear. Quite the contrary. With the right skills and knowledge, even relatively low-cost equipment can give you a very high-quality recording. What’s important is that even if you’re recording at home, the sound should be identical or at least comparable to professional studio quality.
Sometimes, you might consider getting session musicians to help out. If you don’t play every instrument needed, or you’re looking for a particular sound, a session musician can fill that gap for you.
Lastly, consider the order of your songs in the demo. This ordering can make or break the success of your demo. It’s advisable to start with a strong, catchy song that grabs attention right away, followed by songs that further demonstrate your range and ability.
Remember, your song demo is more than just a casual playlist. It’s a professional business card that represents you as a musician. Make sure it shows not only your musical talent but also meticulousness, dedication, and passion.
It’s a lot of work indeed, but creating a standout song demo can make all the difference in your music career.
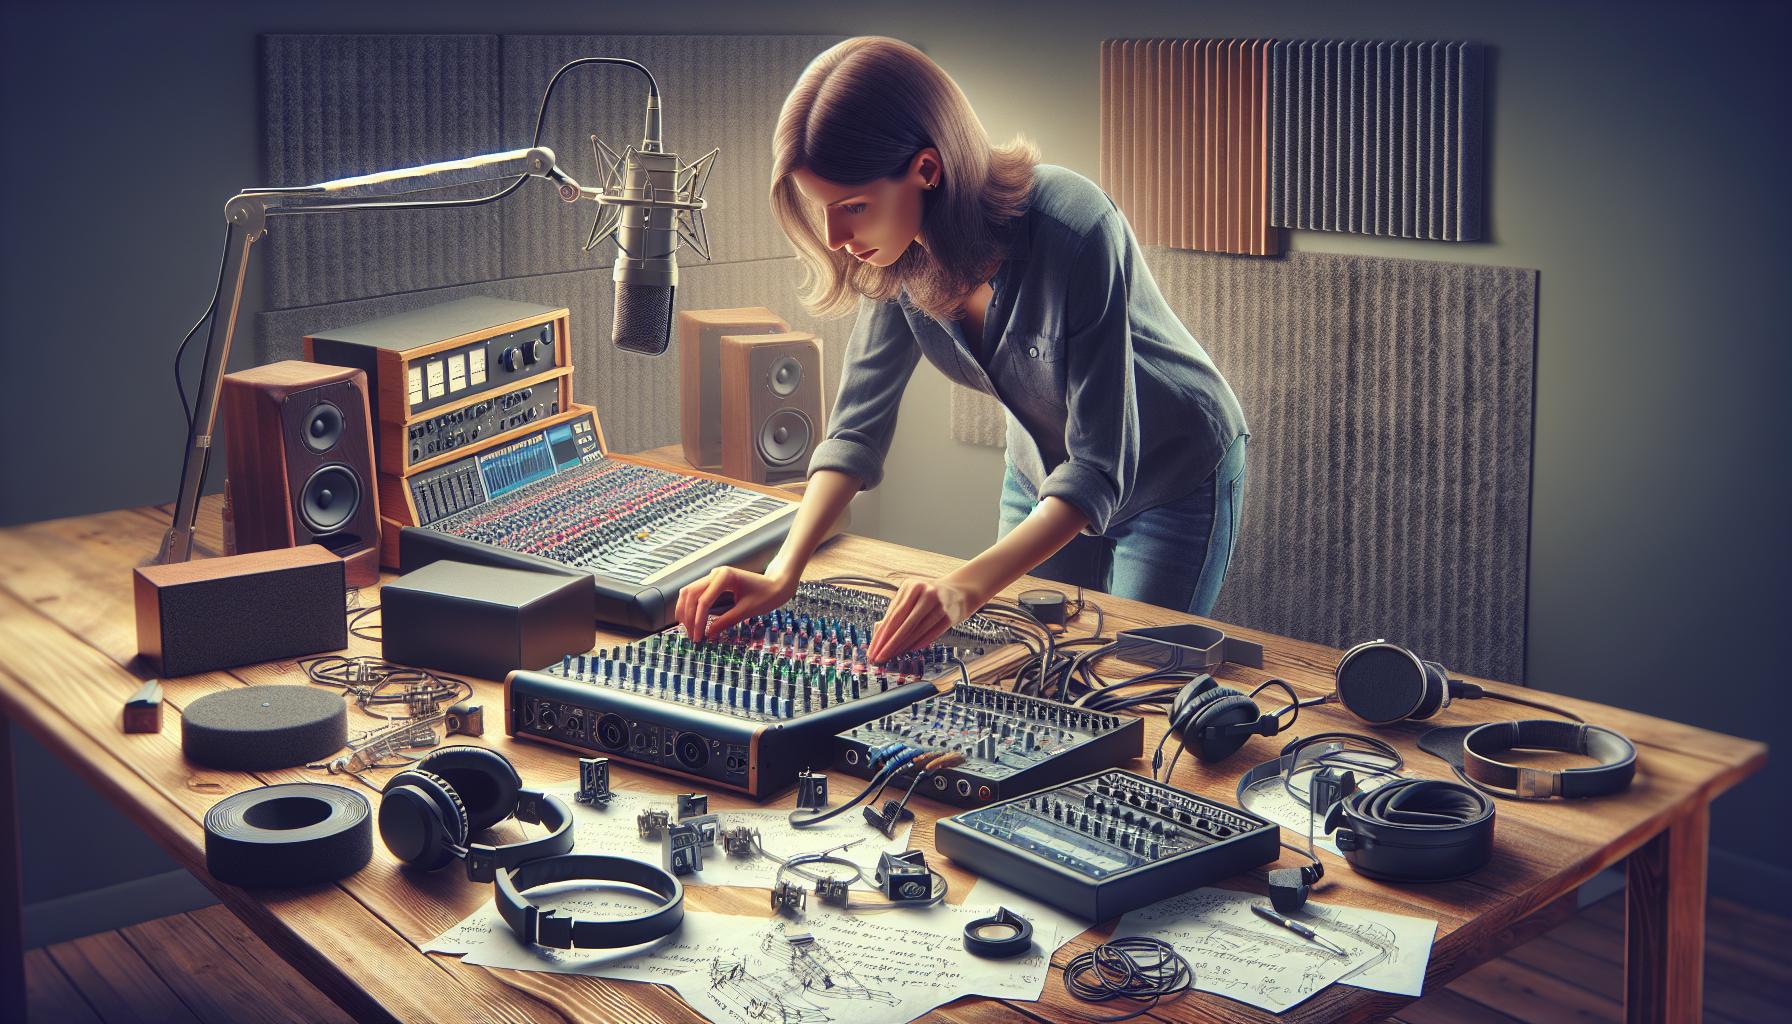
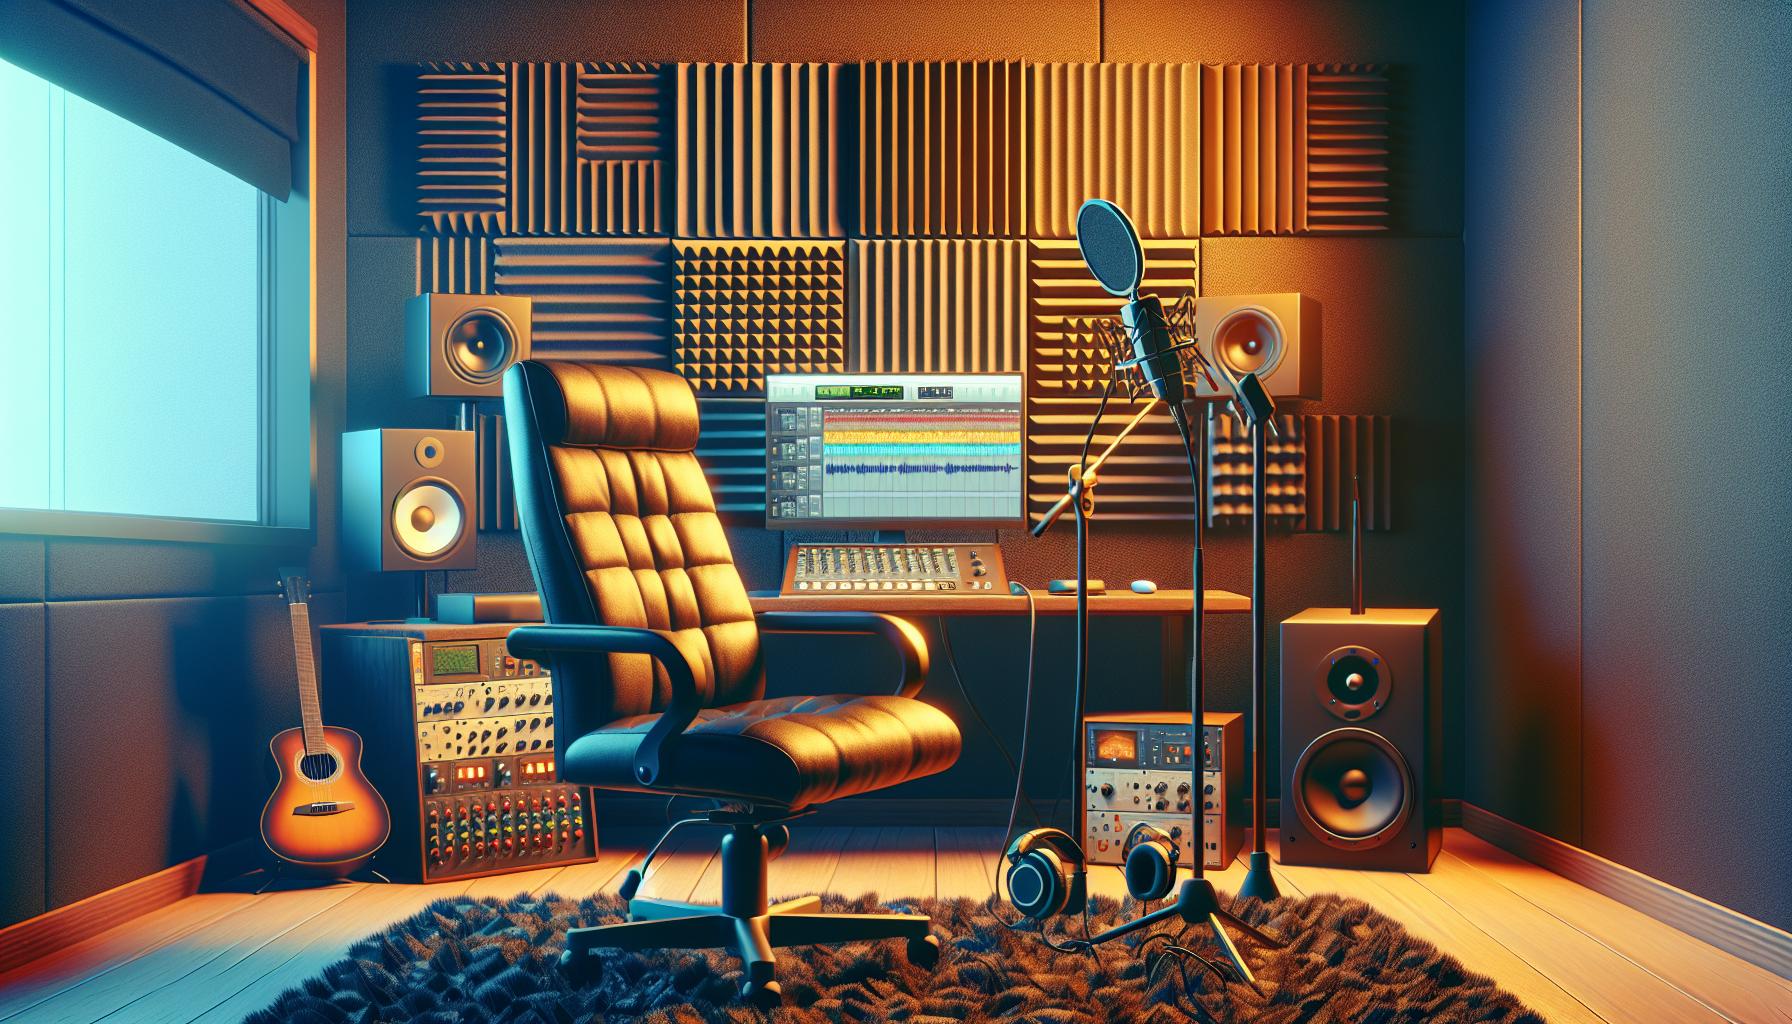
Setting Up Your Recording Space
Diving into the world of demos, it’s essential to place emphasis on the importance of setting up your recording space appropriately. Ensuring a good recording space is as vital as the songs you choose to showcase. The saying “garbage in, garbage out” certainly applies here. If the songs are poorly recorded, even the best vocals or melodies will struggle to shine through.
Creating your recording space doesn’t necessarily mean pouring thousands into a professional recording studio. Many successful artists have created powerful demos using a home-based recording setup. But it does require some key steps and equipment to ensure the sound is as clear and high-quality as possible.
Your primary focus needs to be on acoustics. Echoes, background noise, and too much reverberation can wreak havoc on your recordings. Simple steps like carpeting the room, hanging drapes, or using foam panels can bring significant improvements. Soundproofing and controlling reverberation is a critical aspect of recording.
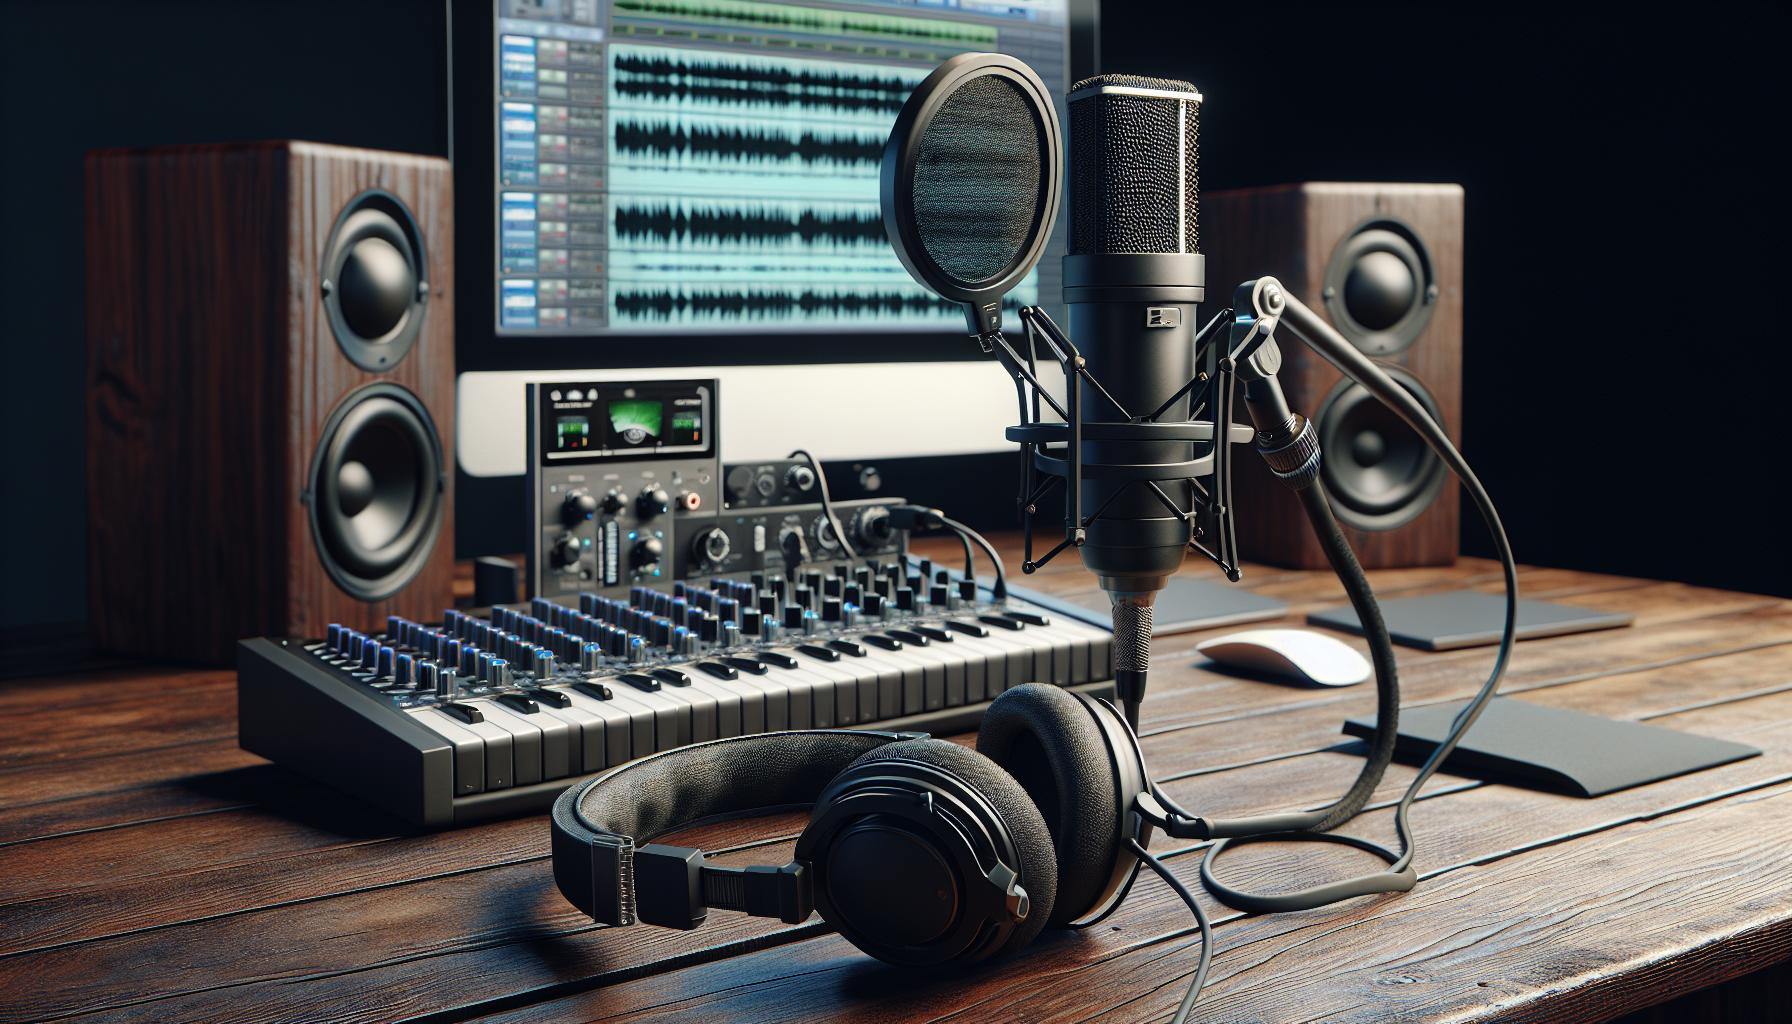
You also need the right recording equipment. At a basic level, you’ll require a good-quality microphone and headphones, an audio interface, and a laptop or computer armed with recording software. Here’s a basic list of essentials:
- A high-quality microphone
- Audio interface
- Headphones
- A computer or laptop with recording software
- Cables, stands, and other accessories as needed
When it comes to digital audio workstations (DAWs), there are numerous options available. Pro Tools, Logic Pro, and Ableton Live are stalwarts of the industry. They’re robust and versatile, but there are simpler and more affordable options for beginners.
Your recording journey doesn’t end with the right space and equipment, though. There’s an art to engineering a demo — setting levels, controlling inputs, and managing the recording process itself. DAW tutorials, online classes, and even mentorships with experienced recording engineers can provide invaluable insights.
Without a conclusion in sight, let’s move on to the next crucial step in creating a professional song demo: mixing and mastering your tracks. The right mix can take your demo from “good” to “great,” ensuring every note, every rhythm, every lyric stands out in just the right way.
Equipment and Software You’ll Need
The right set of tools can make all the difference when it comes to preparing your song demo. Just like a painter needs brushes and paints, you’ll need the proper equipment and software for your demo to take shape. High-quality sound starts with high-quality gear.
First off, let’s talk about microphones. They’re essential for capturing crisp, clear vocals. Condenser microphones are often favored for their ability to pick up on nuanced vocal performances. Dynamic microphones, on the other hand, are more suitable for louder sources, such as guitar cabinets and drums.
After you’ve sorted your microphone, you need a great audio interface. It’s the gateway between your microphone and computer. An audio interface translates analog signals into digital data for recording and playback. Some top-tier interfaces often have built-in microphone preamps, line inputs, and headphone outputs.
Headphones are next on the list. A good pair of headphones will allow you to listen to your performance with clarity. Closed-back headphones are often recommended for tracking, preventing sound leakage that can ruin your recordings.
Lastly but certainly not least we find ourselves needing recording software. This is where you’ll be recording, mixing and mastering your audio tracks. You must find something that suits your experience level and budget. There are various Digital Audio Workstations (DAWs) to choose from, like Logic Pro X, ProTools, or GarageBand. They all have different features, so choose one that fits your needs best.
Here is a gist of what we just discussed:
| Equipment/Software | Use |
|---|---|
| Microphone | Capturing vocals and instruments |
| Audio Interface | Converting analog signals into digital |
| Headphones | Monitoring your performance |
| Recording Software/DAW | Recording, Mixing and Mastering |
Let’s move onto another critical part of creating professional song demos – understanding the art of mixing and mastering to ensure the best sound quality.
Recording and Producing Your Demo
No matter how talented you are, without quality recording, your demo won’t leave the impact you’re aiming for. The next phase in creating a professional song demo is the recording process. This requires a few essentials that I’ll detail for you. First and foremost, make sure you have a decent Audio Interface. An audio interface acts as the main hub for audio in/out from your computer. It’s vital for the connection between your microphone and laptop.
Quality recording also demands a good microphone. Condenser microphones are top-notch when it comes to studio recording and are highly recommended. On the other hand, dynamic microphones are versatile and can be a great fit for on-stage performances. Always remember that the choice of the microphone depends upon the genre and style of the song.
Next, quality headphones should never be underestimated. It’s the little details that can make a big difference in your song. Headphones allow you to listen keenly to every beat and ensure nothing goes unnoticed.
Finally, don’t forget about the software. Professional demos require professional software. Applications like Pro Tools, Logic Pro, or Ableton Live can make a significant impact on the quality of your demo. The right software lets you edit, mix, truncate, and much more, optimizing each track to its maximum potential.
To illustrate the importance of each of these elements, let’s consider a table that highlights their roles:
| Equipment | Role |
|---|---|
| Audio Interface | Acts as the main hub for audio in/out from your computer |
| Microphone | Captures sound, choice depends upon genre and style |
| Headphones | Enable keen listening to every beat, detail |
| Recording Software | Allows editing, mixing, and optimization of tracks |
Moving forward, the role of producing comes into play. As a producer, you’re not just crafting your track, but you’re making sure it highlights your signature style. Your vision needs to come across distinctly, proving you’re not just another dime-a-dozen singer out there. Producing your demo gives it a professional touch, making it stand out in an ocean of music demos. Thus, recording and producing hand-in-hand are key steps in creating a professional demo.
Mixing and Mastering Your Demo

Once you’ve laid down your tracks, the next step in crafting your professional song demo is mixing and mastering. Mixing and mastering aren’t just important — they’re a must. They transform those raw recordings into polished compositions that shine in any playback situation.
When I reference mixing, I’m talking about the art of blending all the individual tracks in a recording to create a version of the song that sounds as good as possible — balanced, clear, and detailed. This isn’t just about levels; it’s also about creating the correct relationships between all the sounds in the mix. It’s about getting each instrument to shine while ensuring everything fits together perfectly.
Mastering, on the other hand, involves applying the final polish to the mix, making sure it’s optimized for playback across all systems and media formats. In this step, you’ll work to achieve the right balance between the various elements of the mix and ensure the track’s overall brightness, punchiness, and loudness.
Performing these steps manually requires a fine-tuned ear and a lot of time, investment in high-quality studio monitors, and mastering software. However, not everyone has these resources or capabilities. Don’t lose heart! There are online tools and services that can help with mixing and mastering your tracks, offering professional results at a fraction of the price.
Here’s a quick rundown on some popular picks:
- LANDR: This algorithm-driven platform offers affordable track mastering with a quick turnaround time. It’s a go-to for independent artists and labels, and those working on a tight budget.
- eMastered: eMastered offers an easy-to-use online mastering service. Its intelligent audio mastering engine analyzes your song and provides a mastered version within minutes. There’s even an option to tweak the settings according to your taste before finalizing.
Consider these options along with your budget and deadlines. Neither mixing nor mastering should be an afterthought. They’re part of the essential process of creating a high-quality song demo. Their impact can be the determining factor for your demo’s success. With the right tools, you can turn your raw tracks into a polished, professional demo that can catch the ear of an industry professional, helping your music career gain momentum.
Creating a Professional Demo Package
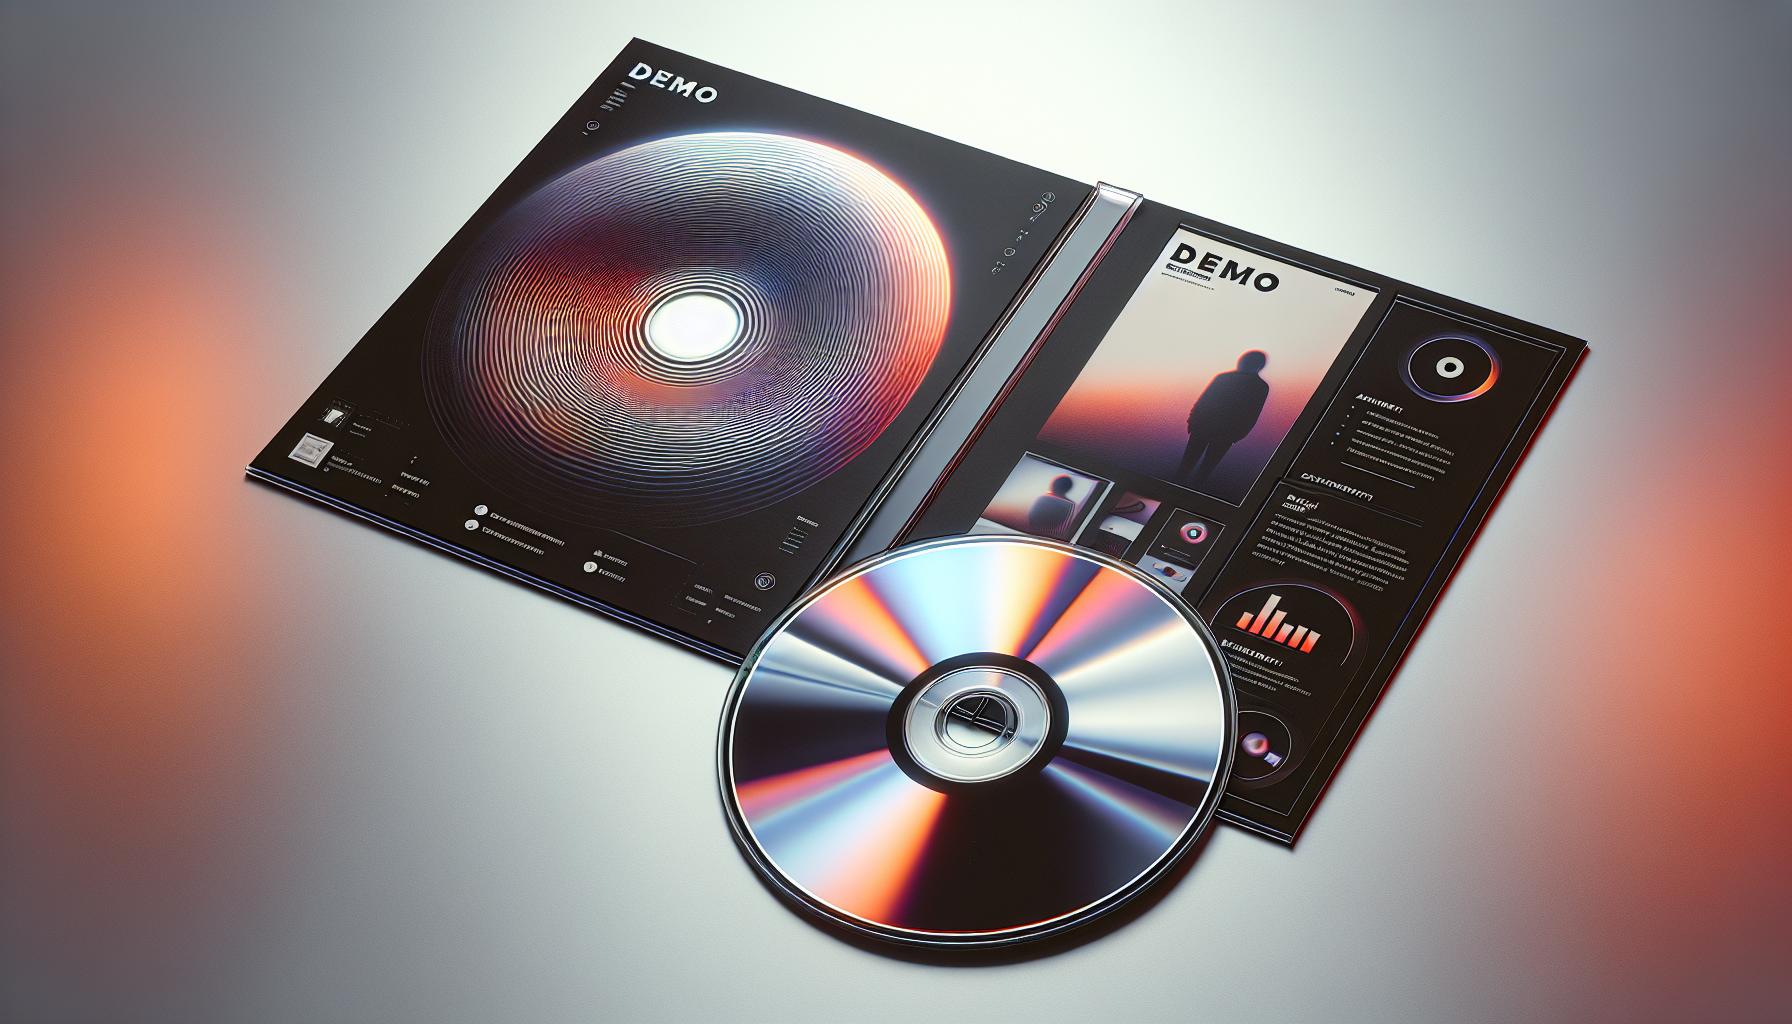
Now you’ve chosen your songs and polished them with top-notch mixing and mastering. It’s time to assemble these components into a cohesive, appealing package. Trust me, presentation matters. Industry professionals receive countless demos. It’s essential that yours stands out both in terms of sound quality and aesthetic presentation.
First, let’s talk about the demo’s visual appeal. Add a professional cover design that adds an element of intrigue. A cover is the first impression a potential listener will have of your demo, so it should give a taste of your music’s style. Graphics should be crisp, clean, and professional, not amateurish or cluttered. To achieve this, there are countless graphic design tools online geared towards making sleek, industry-standard designs even if you aren’t a professional designer.
Moving forward, your demo package must include some essential elements beyond the tracks themselves. These are typically:
- Album art
- Track list
- Artist biography
- Press reviews (if any)
- Contact information
Though these elements might seem mundane, they’re absolutely critical. They form the bridge of communication between you and the industry professionals who might potentially sign you.
Continuing on the topic of contact information, always ensure it’s updated and valid. Sounds obvious, you say? You’d be surprised at how many demos end up in the proverbial bin simply because the contact information was incorrect or missing.
Lastly, but equally crucial, is the need for a tangible, physical demo package in addition to digital files. Yes, we’re in a digital age, but a tangible demo disc still presents an important touch point for professionals. It provides them a sense of your commitment and seriousness.
Remember, creating a professional demo isn’t just about showcasing your talent – it’s about demonstrating your understanding of the music industry. A well-put package does just that. In the fiercely competitive world of music, the devil is indeed in the details.
Sending Your Demo to Industry Professionals
Now that all the components of your demo package are polished and ready, it’s time to discuss an equally important step in this journey – getting your demo in front of the right eyes and ears, the industry professionals. Here’s where your research skills come into play. Identifying the correct person to send your demo to within a music label or a radio station isn’t an easy task, but it’s a crucial one.
Before sending out the demo, I spend time researching potential record labels and their A&R representatives. Why is this important? Because they are the gatekeepers of the music industry. They’re who you need to impress!
Also, consider hiring or consulting a professional music marketer. They can help with industry connections, offer advice on the best methods to reach out, and they might even offer to submit demos on your behalf.
While you’re doing this research, be sure to tailor your pitch to each potential recipient. Express your understanding of their music style or artists they already have. Show them you’ve done your homework and that you understand where you could fit in their ‘big picture’.
Once the research phase is complete, it’s time to package and send your demo. Don’t just dump an MP3 file in an email. Be professional and personalize your approach. You might choose to send a tangible, physical package, perhaps especially designed CDs with your unique album art. This could be accompanied with digital files sent via a professional and reputable music platform. It’s about making an impression.
Remember, first impressions count! And professionalism matters, even in the music industry. Whether you’re reaching out physically or digitally, make sure your presentation reflects your identity as an artist. Your package should speak before your music does, showcasing your dedication and commitment to your craft.
So, measure twice and cut once. This cautious proverb applies not only to carpentry but also as an effective strategy in the music industry. Your demo is your chance to shine, so take the time to meticulously prepare and send that stellar demo.
Conclusion
Creating a professional song demo isn’t just about showcasing your talent—it’s about presenting yourself as an artist. Remember, it’s not just about the number of songs but the quality and selection that truly reflect your style. A well-assembled demo package, complete with album art, track list, artist bio, and contact info, can make a huge difference. Don’t overlook the power of a polished presentation. It’s crucial to target the right industry professionals with a tailored pitch, as this can increase your chances of getting noticed. You might even consider hiring a music marketer to help you make the right impression. Remember, the effort you put into your demo can set the tone for your career. So take the time to create a demo that truly represents you as an artist—it just might be your ticket to the big time.